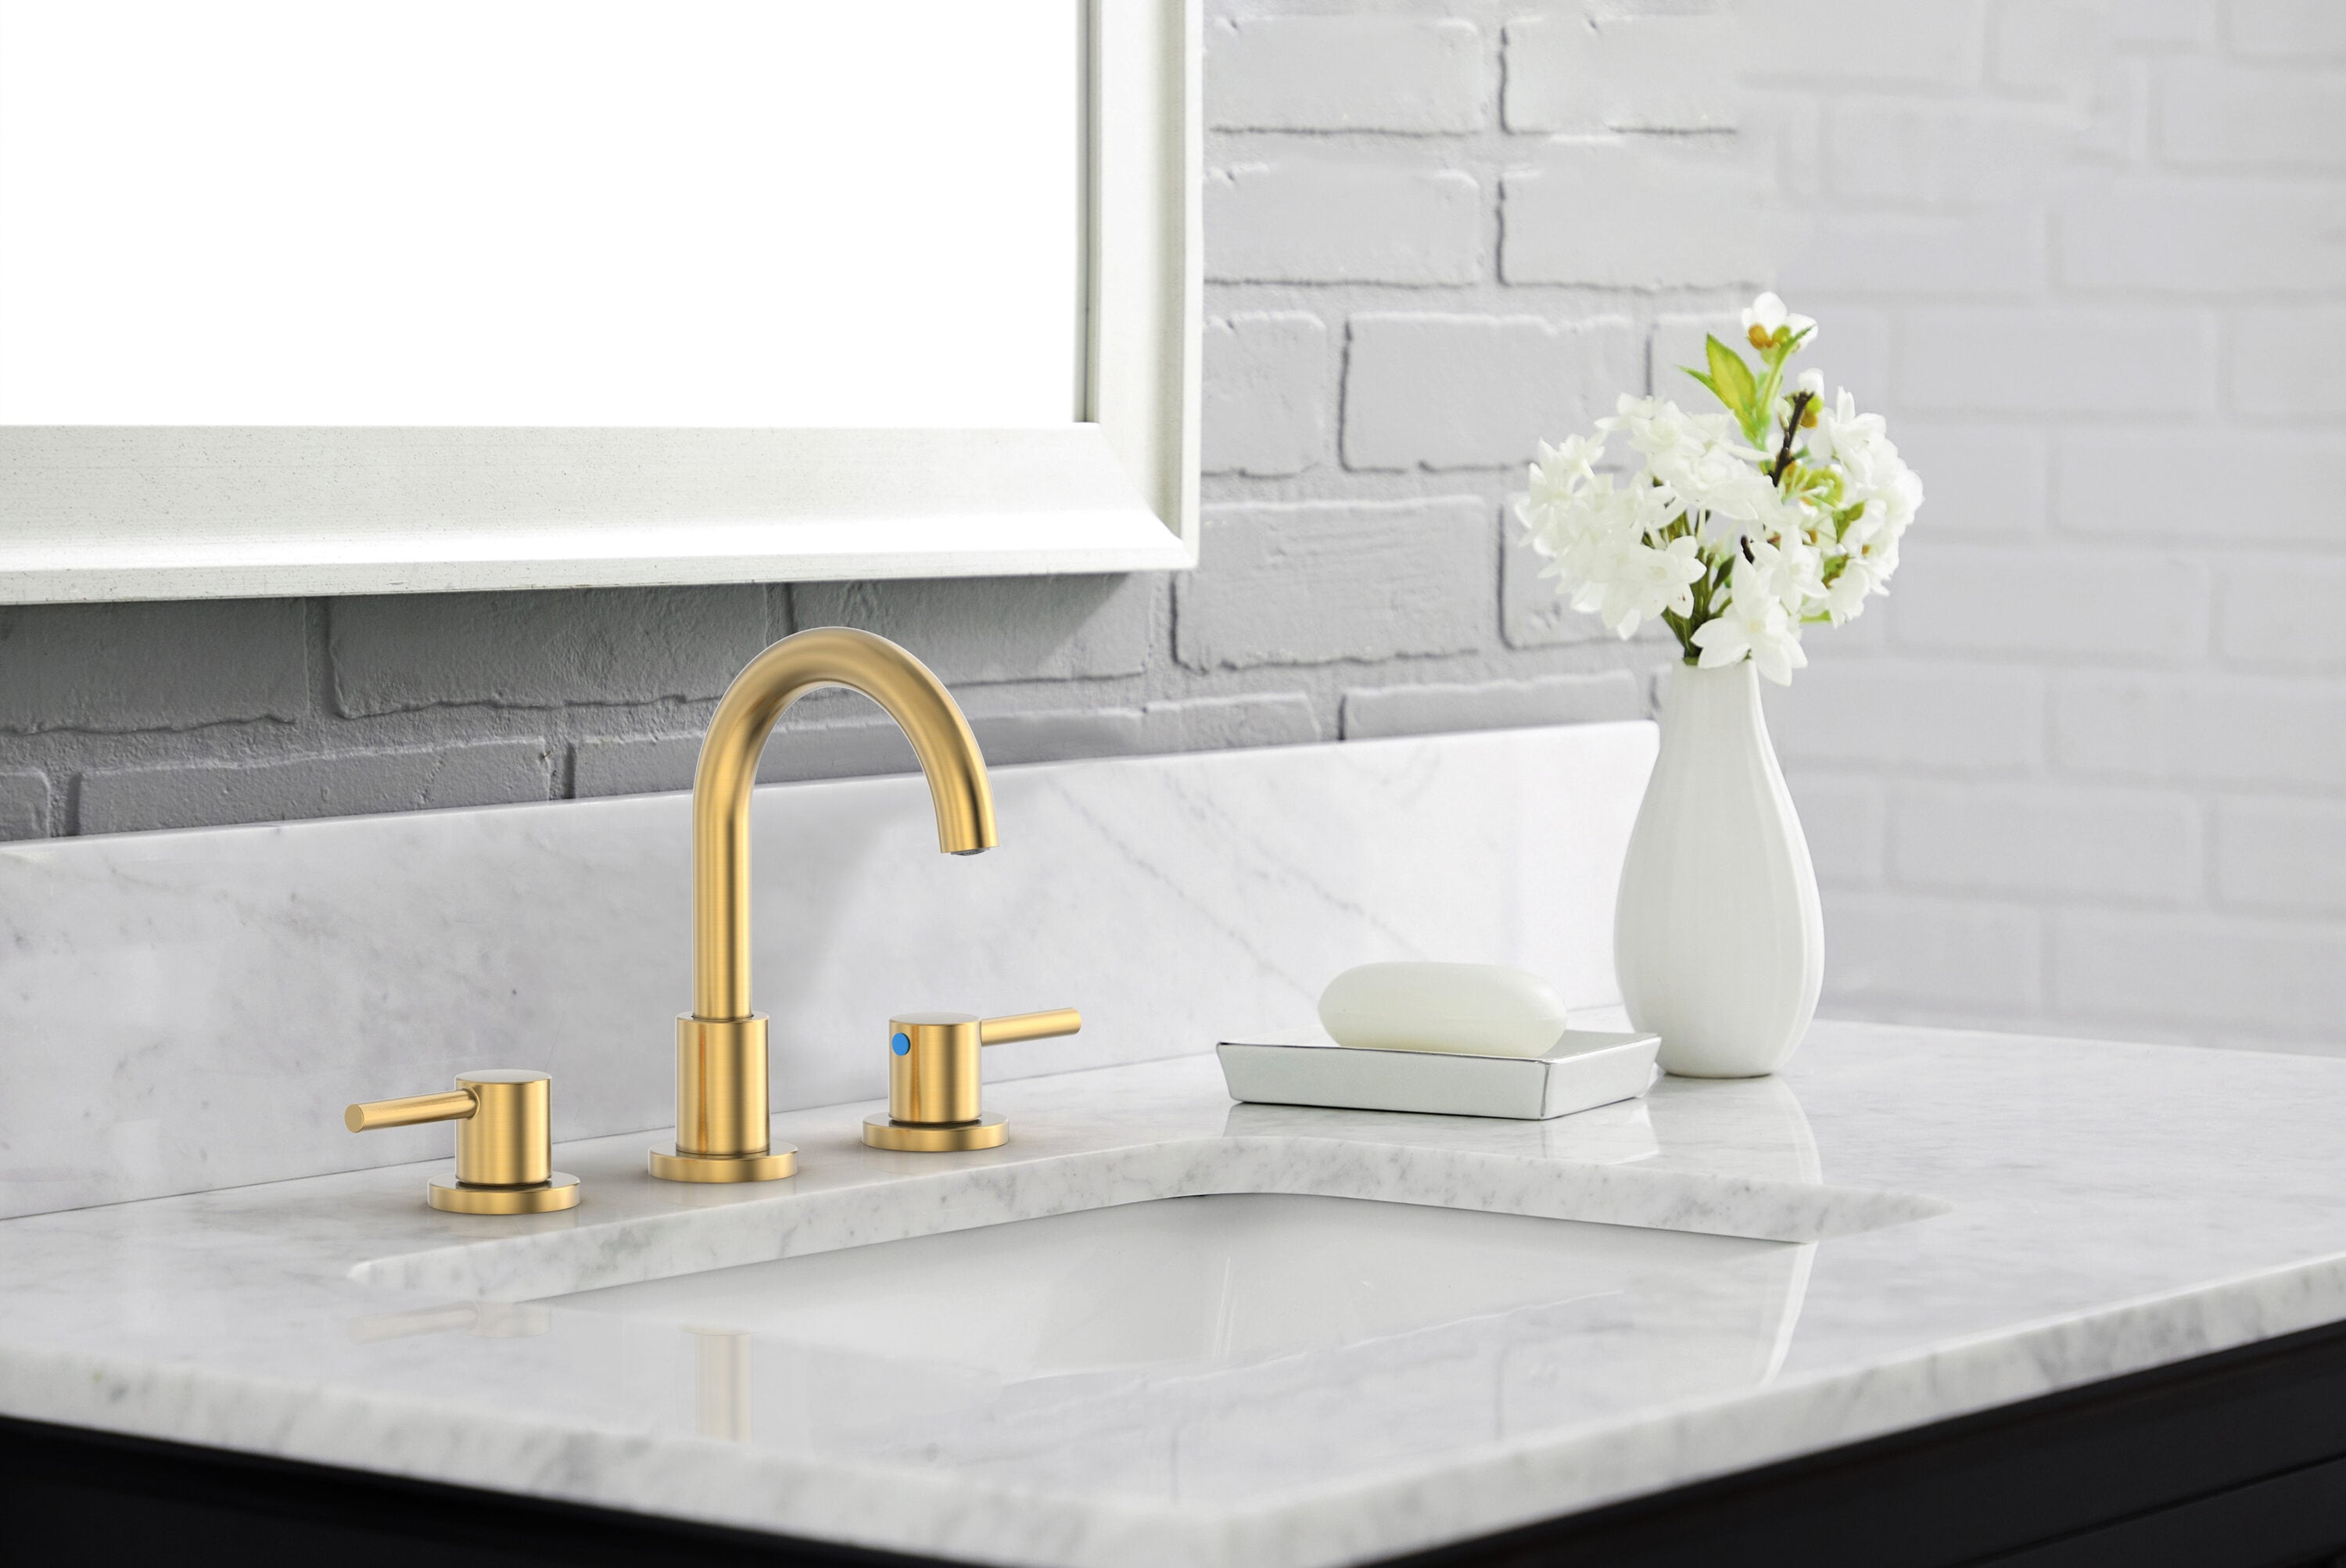
Knowing how to replace bathroom faucet can save you both time and money. Whether you're dealing with leaks or simply looking for a style upgrade, understanding the process will empower you to tackle this job confidently. Lets delve into the steps, tools needed, and some tips to ensure a smooth installation.
Changing a faucet is a common task that many homeowners and renters encounter. With basic tools and a little patience, you can turn your plumbing challenge into an achievement. So, lets get started on your journey of faucet replacement!

Tools You'll Need for Replacing a Faucet
Before diving into the faucet replacement process, ensure you have the right tools at hand. Heres a checklist:
- Adjustable Wrench
- Socket Set
- Screwdriver (Flathead & Phillips)
- Plumbers Putty
- Towel or Rag
- Bucket
- New Bathroom Faucet
Step-by-Step Process to Replace Bathroom Faucet
Now that you have your tools, lets go through the essential steps.
1. Turn Off the Water Supply
Begin by locating the shutoff valves under your sink. Turn them clockwise to stop the water flow. Always check the knobs for both hot and cold water.
2. Gather Your Materials
Before you get started, make sure to have your new faucet and any additional parts like sink accessories that you might need for the installation.
3. Remove the Old Faucet
To take out the old faucet, you may need to remove parts such as the handles and the spout. Use your adjustable wrench to loosen the nuts on the mounting bracket. Dont forget to place a towel or bucket below the sink to catch excess water.
4. Prepare the Area
Once the old faucet is removed, clean the area where the new faucet will sit. Ensure that theres no old putty or grime left behind, which could hinder the new installation.
5. Install the New Faucet
Now its time to install your new bathroom faucet. Follow the manufacturer's instructions for proper placement. Apply plumber's putty to the base of the faucet to ensure a watertight seal. Secure it firmly in place with the mounting nuts and tighten with your wrench.
6. Connect the Water Supply Lines
Connect your water supply lines to the corresponding hot and cold inlets. Make sure everything is connected correctly before tightening the connections. If unsure, refer to the color coding or labels on your faucet.
7. Test for Leaks
After everything is connected, turn the water supply back on slowly. Turn on the faucet and check for any leaks around the connections. Its essential to ensure everything is sealed well.
Additional Considerations When Replacing Your Faucet
Replacing your faucet can seem daunting, but here are some additional tips to make the process easier and more efficient:
- Choose the Right Faucet - Make sure that the new faucet fits your sink and meets your needs. For instance, check the height and reach of the faucet spout.
- Know Your Plumbing System - Understanding whether your home has a PEX or traditional pipe system can save you time during installation.
- Avoid Over-tightening - When connecting the water supply lines, be cautious not to over-tighten as this can cause damage.
- Maintain Water Pressure - If the water pressure is low, the installation might need adjustment or inspection of the aerator.

Frequently Asked Questions (FAQs)
What tools do I need to replace a bathroom faucet?
You will need an adjustable wrench, socket set, screwdrivers (Flathead & Phillips), plumber's putty, towel, and bucket.
What should I do if I encounter leaks after installation?
If you notice leaks, ensure that all connections are secured. If leaks persist, disassemble the connections and reapply plumber's putty where necessary before retesting.
Can I install a bathroom faucet myself?
Yes, with some basic tools and instructions, most homeowners can replace a bathroom faucet on their own.
For more helpful information on bathroom fixtures, check out this guide on faucet finishes.
As an Amazon Associate, I earn from qualifying purchases.


