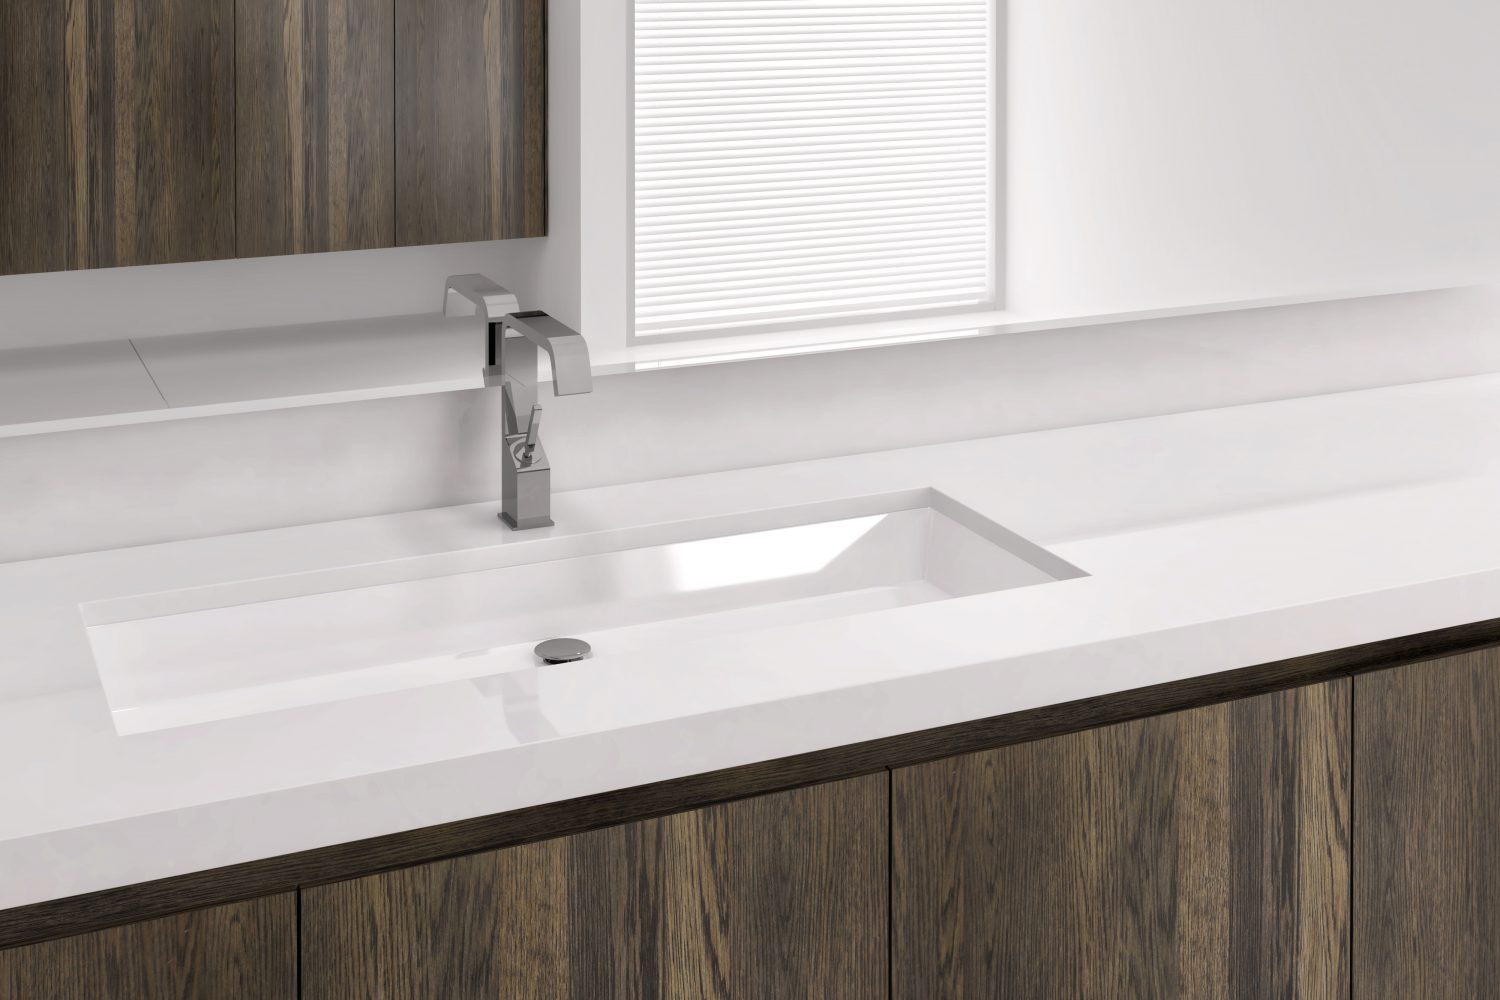
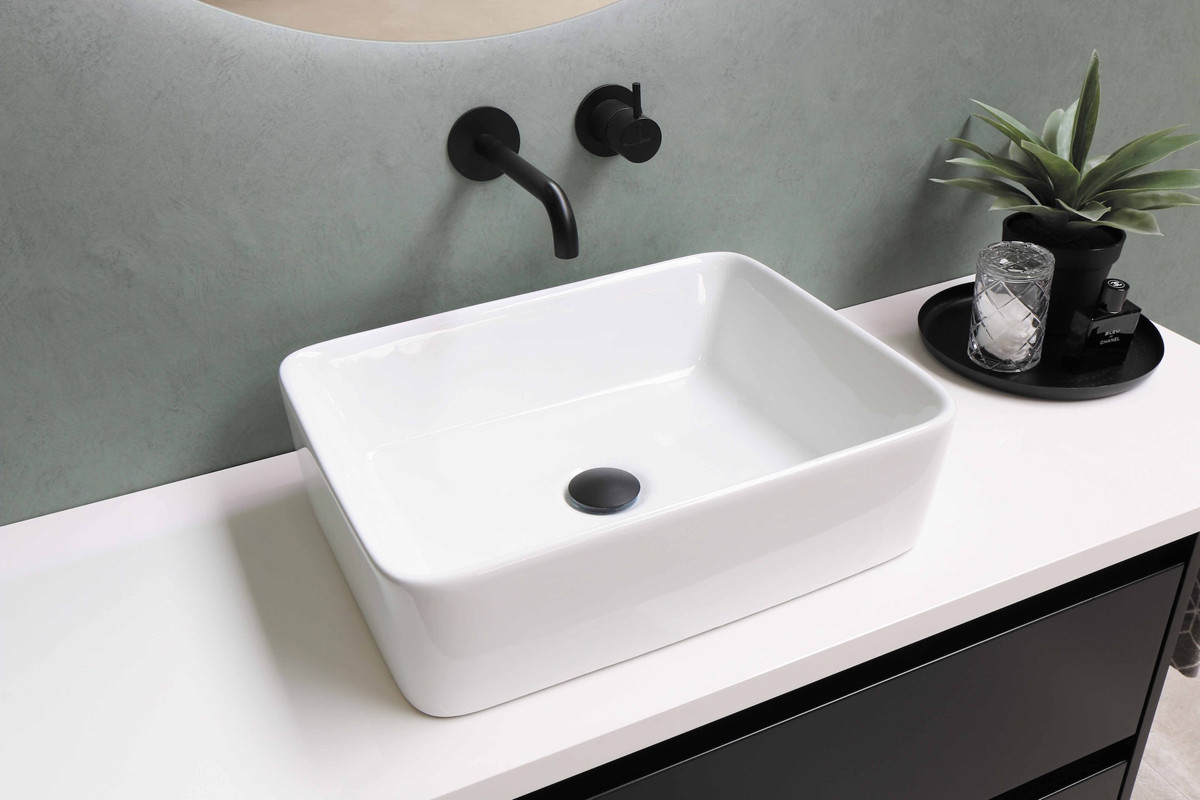
Installing PEX pipe to your bathroom sink is essential for modern plumbing systems. If you're wondering how to install PEX pipe to bathroom sink, you're not alone. This guide will walk you through each step in this straightforward process. PEX pipe is a popular choice due to its flexibility, resistance to corrosion, and ease of installation.
Before diving into the installation process, lets review what youll need:
- PEX pipe of appropriate length
- PEX fittings
- Crimp rings and tool
- Pipe cutters
- Measuring tape
- Teflon tape
- Adjustable wrench
- Safety goggles and gloves

Understanding the Benefits of PEX Pipe
PEX piping offers various advantages for bathroom sinks and plumbing, which makes it a popular alternative to traditional copper and PVC pipes. Some significant benefits include:
- Flexibility: PEX can bend around corners.
- Resistance to scale and chlorine: It does not corrode.
- Easy installation: Less labor-intensive than other piping methods.
- Cost-effective: Its typically cheaper than copper.
Step-by-Step Guide on How to Install PEX Pipe to Bathroom Sink
Now that you have a brief overview of PEX and its benefits, lets get into the details of installation.
Step 1: Measure and Cut the PEX Pipe
Accurately measure the distance from the existing plumbing to the sink location. Use a pipe cutter to cut the PEX pipe to the necessary length, ensuring a clean cut.
Step 2: Attach the PEX Fitting
Slide the crimp ring onto the end of the pipe before pushing the pipe into the PEX fitting. Make sure you've left enough space for the crimp ring. Once in place, use the crimping tool to secure the connection.
Step 3: Connect to the Sink
With the PEX installed and secured, attach the other end of the PEX pipe to the sink's faucet water supply line. Don't forget to apply Teflon tape on the threads for a leak-proof seal.
Common Mistakes to Avoid When Installing PEX Pipe
- Not measuring accurately: Always double-check your measurements.
- Using improper tools: Ensure you have the right tools to avoid damaging PEX.
- Forgetting to secure connections: Never skip crimping the connections properly.
Maintenance Tips for PEX Pipe
Maintaining your PEX piping system is easy, but its essential to regularly check for leaks and inspect connections for any signs of wear. The expansion and contraction of PEX means that it can withstand temperature changes, but ensuring there's no exposure to UV light is crucial to extend its lifespan.
If you ever find your sink clogged, check out this article on how to unclog a bathroom sink.
Frequently Asked Questions (FAQs)
1. Can I use PEX piping for hot water supply?
Yes, PEX can be used for both hot and cold water supply.
2. How long can PEX piping last?
PEX pipes can last up to 50 years if properly installed and maintained.
3. Is PEX pipe safe for drinking water?
Yes, PEX pipe is safe for potable water, as long as it meets local code requirements.

Conclusion
Learning how to install PEX pipe to bathroom sink can save you time and money. By following these steps and tips, you'll ensure a successful installation that can enhance your bathrooms plumbing setup.
For more plumbing tips and insights, explore additional articles like removing faucets or why sinks wont drain.
As an Amazon Associate, I earn from qualifying purchases.


