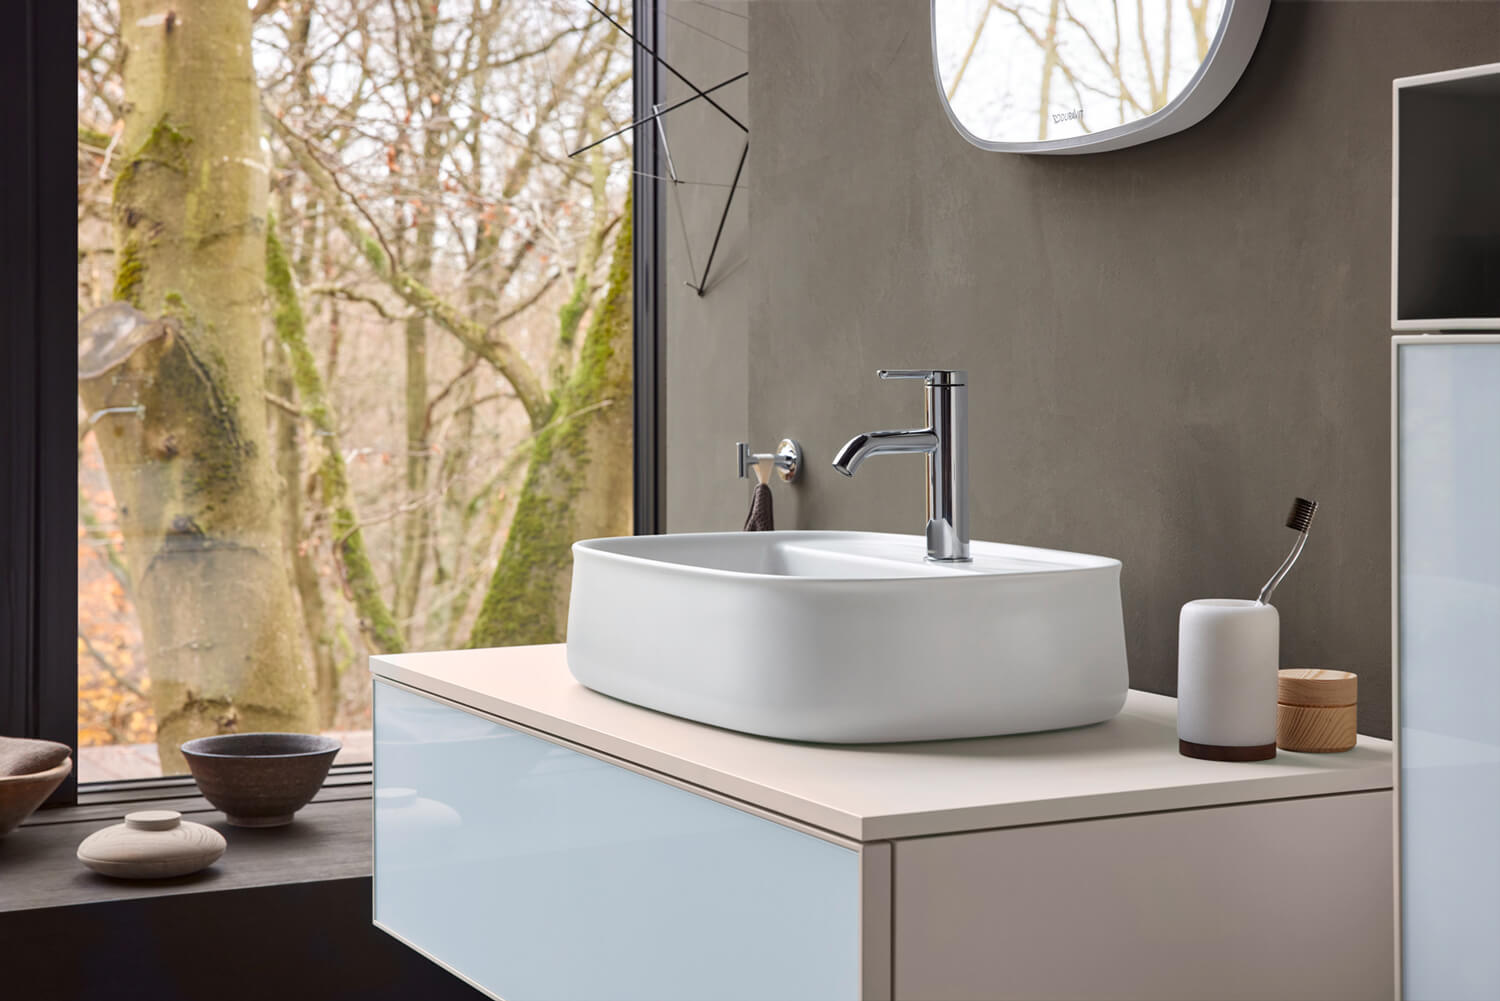
Are you facing a leaky or outdated faucet in your bathroom sink? The solution lies within your reach! Understanding how to remove faucet from bathroom sink is not just a question of maintenance; its a mark of being a savvy homeowner. This unmissable guide will delve into the remarkable world of plumbing where a few simple tools and some MIY (Make It Yourself) attitude can lead to a delightful transformation in your bathroom.
Picture this: you wake up on a regular weekday and are met with the shocking sight of water pooling around your sink. Youve tried everything, and its time for a change. Knowing how to remove faucet from bathroom sink can save you the headache of calling a plumber and help you regain control over your home repair tasks. Ready to embark on this tremendous journey? Lets break it down!

Tools You Need for the Job
Before diving in, its crucial to gather all your tools. Heres a quick list of essential items:
- Adjustable Wrench
- Flat-Head Screwdriver
- Phillips Screwdriver
- Plumbers Tape
- Basin Wrench
Having these tools at hand will make the entire process smoother and more efficient.
Step-by-Step Guide
Now that youre equipped with the necessary tools, lets go through the steps to learn how to remove faucet from bathroom sink.
1. Turn off the Water Supply
Your first move should always be to turn off the water supply before working on any plumbing task. Usually, there are shutoff valves located under the sink. Turn these valves clockwise to close them. If no valves are present, you may need to shut off the main water supply of your home. This crucial step prevents any accidental flooding while you work.
2. Clear the Area
Ensure that the area around your sink is free from clutter. Its much easier to work without having to maneuver around various items. Consider using a towel to catch any remaining water that may drip from the faucet after disconnection. As you proceed, familiarize yourself with the faucets structure.
3. Disconnect Water Supply Lines
Locate your water supply lines. Typically, there are two: one for hot water and one for cold. Use the adjustable wrench to loosen these connections. Remember to place a bucket or container beneath the fittings to catch any residual water.
4. Remove the Faucet
Once the water lines are disconnected, its time to unmount the faucet. Use the basin wrench to unscrew any nuts holding the faucet in place. With a little patience and gentle twisting, your faucet will be free. Gently lift it out from the sink.
5. Clean the Area
After removing the faucet, its wise to clean the area. Any dirt or grime around the sink will make installation of the new faucet easier and ensure a better seal. This process is much like how you'd prepare your workspace for a project.
Why You Might Need to Remove Your Faucet
Its a good idea to understand the reasons behind removing your faucet. It could be for:
- Replacing with an upgraded model
- Floor-to-ceiling renovations
- Addressing leaks or drips
Being clear on your end goal will help guide your decisions during this process.
Common Issues You Might Encounter
Even the most seasoned DIYers can run into a few bumps along the way. Here are some common issues and how to tackle them:
1. Stuck Nuts
If the nuts are rusted or stuck, try using some penetrating oil to loosen them. Let it sit for a few minutes before attempting to unscrew again.
2. Limited Space
Bathroom sink spaces can often be cramped. Use a light to illuminate the area, or consider removing the trap or other pipes to give you better access.
3. Misplaced Tools
It's easy to misplace tools while working. Keep a dedicated spot for your tools, or use a small toolbox that you can easily access.
Learning More about Bathroom Sinks
If you're interested in more insights related to bathroom sinks, consider checking out these resources:
You can also find valuable tips at J Design Group.
.jpg)
FAQs
1. Can I remove the faucet myself?
Absolutely! With the right tools and guidance, removing a faucet can be a straightforward DIY task.
2. How long does it take to remove a faucet?
Typically, removing a faucet can take anywhere from 30 minutes to an hour, depending on your experience and the faucet's condition.
3. What if I encounter rusted parts?
Using penetrating oil can help loosen rusted parts. If they remain stuck, consider calling a plumber for assistance.
As an Amazon Associate, I earn from qualifying purchases.


