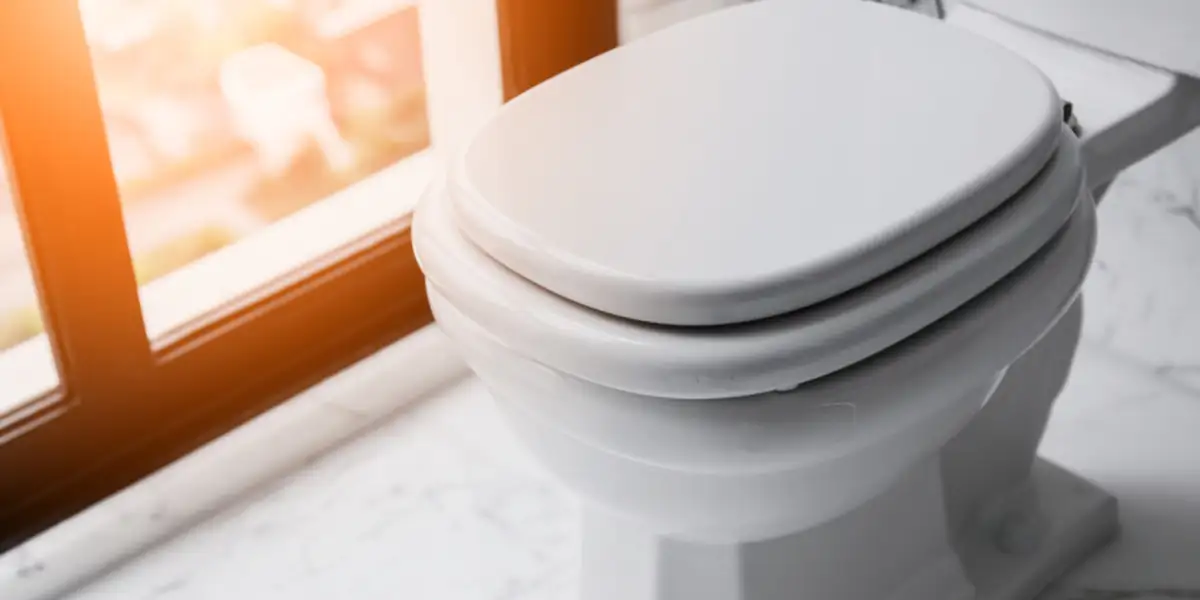
Understanding how to remove toilet seat can be a valuable skill for anyone looking to maintain their bathroom. Whether you're replacing an old seat, cleaning, or making repairs, removing the toilet seat is a straightforward task that can save you time and money. In this comprehensive guide, we'll walk you through each step, ensuring you're equipped with all the knowledge needed for a successful removal.
The process of removing a toilet seat involves several essential steps, which can vary depending on the type of toilet and seat you have. This article will highlight important factors to consider, tools required, and common challenges that may arise while removing a toilet seat. So, lets dive in!

Why You Might Need to Remove Your Toilet Seat
There are numerous reasons why someone might want to learn how to remove toilet seat, including:
- Replacing an old, worn-out seat.
- Conducting deep cleaning, especially around stubborn stains.
- Performing repairs on a damaged toilet.
No matter the reason, this skill is essential for proper bathroom maintenance.
Tools Youll Need
Before starting the removal process, it's crucial to gather the right tools. Heres a list of items you'll need:
- A socket or wrench
- A flathead screwdriver
- A cloth or towel
- Safety gloves
- WD-40 or penetrating oil (if needed)
Having these tools ready will streamline the entire process.
Step-by-Step Guide on Removing a Toilet Seat
Now, lets dive into the detailed steps for how to remove toilet seat:
- Identify the Mounting Type: The type of mounting plays a critical role in removal. Check if your toilet seat is secured with nuts, bolts, or a special mechanism.
- Locate the Bolts: Most toilet seats are secured with bolts found at the back of the same.
- Remove the Caps: If there are plastic caps covering the bolts, gently lift them off with your flathead screwdriver.
- Unscrew the Bolts: Using the socket or wrench, turn the bolts counterclockwise until they are fully detached. If they are stuck, apply some WD-40 and wait a few minutes for it to penetrate before proceeding.
- Lift the Seat: Once the bolts are loose, lift the seat off the toilet. Make sure to hold the seat securely to prevent spills.
For a more challenging removal, or if you encounter rusted bolts, you can refer to this helpful resource that provides tips on tackling tricky situations.
Common Issues When Removing a Toilet Seat
While most toilet seat removals are straightforward, you may run into issues along the way:
- Stuck Bolts: Bolts can often be corroded or rusted, making them difficult to remove. In this case, patience and a little more lubricating oil are your best friends.
- Missing Parts: Its essential to verify all parts are intact before beginning the removal process to avoid complications.
- Incorrect Tools: Using the wrong size tool can lead to stripped bolts. Always confirm you have the correct tools ready.
After the Removal: What to Do Next?
Once you've successfully removed your toilet seat, its time to decide on the next steps:
- Cleaning: Use the opportunity to thoroughly clean the toilet area and the seat components.
- Replacement: If you're installing a new toilet seat, follow the installation instructions closely.
For more information on sanitary practices, you can visit this hygiene guide.

FAQ Section
1. How long does it take to remove a toilet seat?
Removing a toilet seat typically takes anywhere from 10 to 30 minutes, depending on how stuck the bolts are.
2. What if the bolts are rusted or corroded?
If you encounter rusted bolts, use a penetrating oil to loosen them and give them time to soak before removal.
3. Do I need to replace the seat entirely?
Not necessarily. If the seat is in good condition but just needs cleaning, you can reinstall it after thorough cleaning.
As an Amazon Associate, I earn from qualifying purchases.


