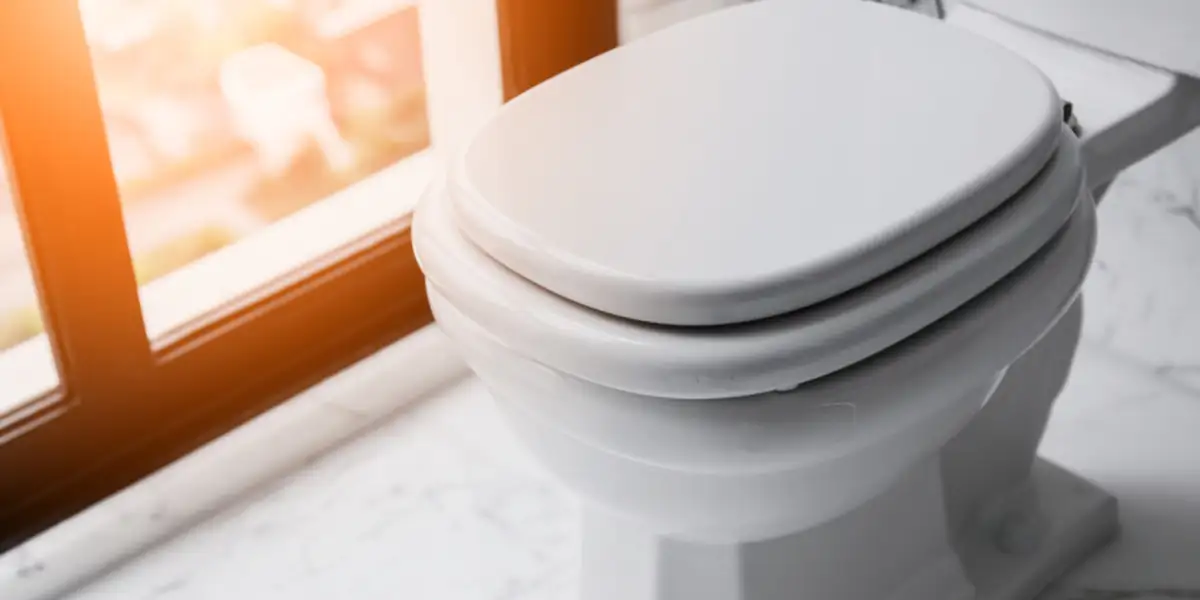
Are you tired of looking at that old, worn-out toilet seat? Wondering how to paint a toilet seat? You're in the right place! In this comprehensive guide, we will take you step-by-step through the entire process of painting a toilet seat, adding a fresh touch to your bathroom. Whether you're aiming for a bold color change or a simple refresh, we have got all the insider tips and tricks to make your project a success.
Painting a toilet seat may seem like a small task, but it can have a huge impact on the overall aesthetic of your bathroom. With the right tools and steps, you can transform that bland white seat into a personalized piece of art that complements your style. Lets dive deeper into how to paint a toilet seat like a pro!

Why Paint Your Toilet Seat?
Before we delve into the specifics, lets discuss why you might want to paint your toilet seat in the first place. It's not just about aesthetics; painting can also help protect the surface and extend its lifespan. A fresh coat of paint can hide blemishes and scratches, making your toilet seat look new again. Plus, it's an excellent way to express your personality and add flair to your space.
What You Will Need
To embark on your toilet seat painting adventure, gather the following essentials:
- Toilet seat (preferably plastic or wood)
- Sandpaper (fine grit)
- Primer
- Paint (acrylic or enamel)
- Sealer (optional)
- Painters tape
- Brushes and/or spray paint
- Drop cloth or newspaper
- Cleaning supplies (soap and water)
Steps to Paint a Toilet Seat
Now that you have all your materials, let's go through the step-by-step process of how to paint a toilet seat.
1. Remove the Toilet Seat
Start by removing the toilet seat from the toilet. This is usually a matter of loosening a couple of screws underneath. Make sure to set them aside in a safe location to reattach later. This step will make the painting process easier and help prevent any damage to your toilet or flooring.
2. Clean and Sand the Surface
Thoroughly clean the toilet seat with soap and water to remove any dirt, grime, or old paint. Once clean, allow it to dry completely. Next, use fine grit sandpaper to lightly sand the surface. This step is crucial, as it helps the primer adhere better to the seat.
3. Apply Primer
Using a brush or spray, apply a coat of primer to the toilet seat. Make sure to cover all surfaces evenly. The primer will provide a base for your paint and help achieve a more vibrant color. Allow the primer to dry according to the manufacturer's instructions.
4. Paint the Toilet Seat
Once the primer is dry, its time to paint. Choose a color that complements your bathroom decor. Using the same method as you did with the primer, apply your chosen paint. If using a brush, try to use long, even strokes to avoid brush marks. Apply at least two coats, allowing each coat to dry completely before applying the next.
5. Seal the Paint (Optional)
For extra protection, consider applying a clear sealant over the paint once it has dried completely. This step can help protect from scratches and fading, especially in humid bathroom conditions.
6. Reattach the Toilet Seat
After everything is fully dried and cured, reattach the toilet seat to the toilet using the screws you saved earlier. Make sure everything is tight and secure.
Tips and Tricks for a Successful Paint Job
Here are some additional tips that will make your project easier:
- Choose the right paint: Make sure youre using paint that's suitable for bathroom conditions. Look specifically for paints that are mold and mildew resistant.
- Ventilation: Make sure to paint in a well-ventilated area. This is vital for reducing odors from the paint and primer.
- Patience is key: Allow adequate drying time between each step to ensure the best finish.
Common Questions
Can I paint a toilet seat made of plastic?
Absolutely! Just make sure to use a suitable primer and paint designed specifically for plastic surfaces.
How long does the paint take to dry?
Drying time can vary based on the paint used and environmental conditions but usually takes around 2-4 hours for a coat to be dry to the touch and 24-48 hours to fully cure.
Will the paint chip off over time?
When done correctly and using the right products, the paint should have good adhesion and should remain intact. However, wear and tear over time can lead to chipping, especially in high-use areas.
Additional Resources
For further insights on toilet maintenance, consider visiting cleaning tips and stain causes. These blogs will help you keep your toilet looking fresh.
For expert advice on the best practices in maintaining toilet hygiene, check out maintenance tips.
As an Amazon Associate, I earn from qualifying purchases.


