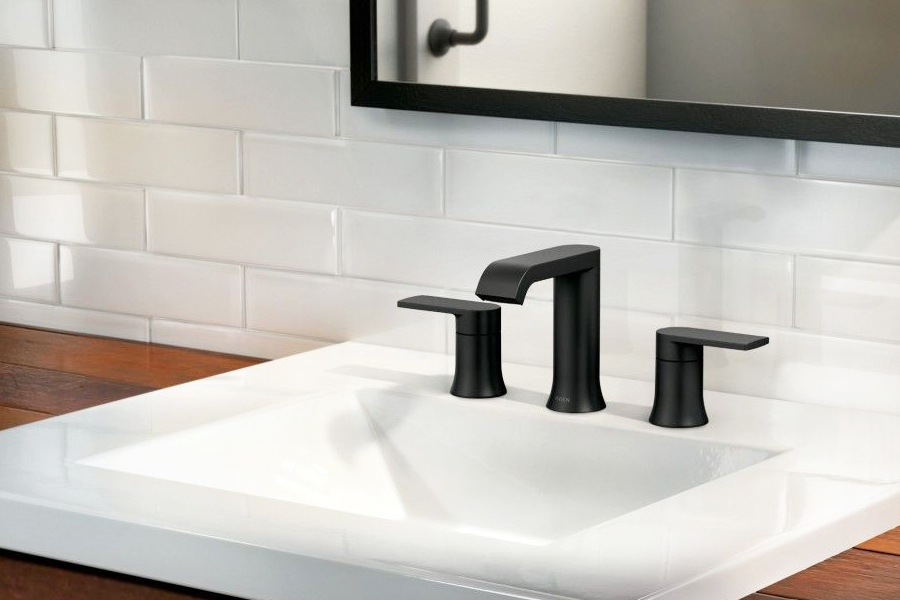
If you're embarking on a DIY home improvement project, knowing how to remove Grohe bathroom faucet handles can save you a lot of time and headaches. These handles can sometimes be tricky, but breaking down the steps will help you accomplish it efficiently.
In this guide, we will offer remarkable insights and life-changing tips on faucet handle removal. Whether you're replacing old handles or troubleshooting a loose component, our unmissable guide will ensure you're well-prepared to tackle the task.

Tools You Will Need
Before diving into the process of removing your faucet handles, ensure you have the following tools at your disposal:
- Screwdriver (flathead and Philips)
- Allen wrench of the appropriate size
- Pliers
- Soft cloth
- Bucket or towel
Step-by-Step Guide to Removing Grohe Bathroom Faucet Handles
Now that you're equipped with the essential tools, let's explore the step-by-step process on how to remove Grohe bathroom faucet handles.
1. Turn Off the Water Supply
Before you begin, it's critical to shut off the water supply to your faucet. This will prevent any unwanted spills when you remove the handles. Look for the shutoff valves located under the sink and turn them clockwise.
2. Inspect and Locate the Handle Screws
Most Grohe bathroom faucets have visible screws on top of the handle. However, some models may have a decorative cap covering the screws. Use a soft cloth to gently pry off any caps, being careful not to scratch the finish.
3. Remove the Screws
Using the appropriate screwdriver, remove the screws securing the handles. Keep them in a safe place for reinstallation later. If the screws are tight, a little patience and gentle force is often all it takes.
4. Use the Allen Wrench
If your faucet has a set screw in the back or side, use an Allen wrench to loosen it. Turning counter-clockwise works to loosen the screw. Make sure not to damage the faucet as you remove it.
5. Remove the Handle
Once the screws are removed, you can gently pull the handle off the faucet body. If it is stuck, a gentle wiggle or a little manual force should work, but avoid using any excessive force to prevent damage.
Common Issues When Removing Faucet Handles
Some issues may arise while youre removing Grohe bathroom faucet handles, here are some common challenges and their solutions.
Stubborn Handles
If the handle does not budge, it may be due to corrosion or accumulation of mineral deposits. Applying a penetrating lubricant to the surrounding area can help loosen the handle. Let it sit for a few minutes before attempting removal again.
Stripped Screws
In the event you encounter stripped screws, a screw extractor kit can be helpful. Alternatively, you could drill the screw out carefully, taking care to avoid damaging the faucet. Check this guide on identifying bathroom faucet brands for more related information.
Reinstallation Tips
Once you've completed your repair or replacement task, reinstalling the faucet handles is quite straightforward. Just reverse the above steps, ensuring tight but not overstressed screws.
Reattach and Test
Once attached, turn on the water supply slowly and check for leaks while testing the handles. A little caution during this phase ensures that your work has been successfully completed.
Final Thoughts
Learning how to remove Grohe bathroom faucet handles is a valuable skill that can expedite any bathroom renovation or repair. With the right tools and techniques, you can tackle this job with confidence.
For more ideas on faucet repair, take a moment to visit this helpful guide. You might also find it beneficial to check out how to identify your bathroom faucet brand.

FAQs
What tools do I need to remove Grohe faucet handles?
You will need a screwdriver, an Allen wrench, pliers, and a soft cloth to remove the faucet handles.
Can I remove the handles without turning off the water supply?
It is highly recommended to turn off the water supply to avoid any leaks or spills during the removal process.
What should I do if I damaged the screws while removing the handles?
If screws are damaged, you can use a screw extractor kit or drill them out carefully to replace them.
As an Amazon Associate, I earn from qualifying purchases.


