Are you dealing with a stubborn Moen bathroom faucet handle that just won't budge? If so, you're not alone. Many homeowners encounter issues with their faucet handles over time. In this article, we will explore the essential steps for how to remove moen bathroom faucet handle effortlessly, ensuring your plumbing tasks are executed smoothly. Understanding the mechanism behind your faucet will not only simplify the removal process but also empower you to handle similar tasks in the future.
Before diving into the details, lets take a moment to highlight some common symptoms that indicate your faucet handle needs attention. Drips, leaks, or a handle that doesn't turn as it should are all signs that its time to take action. Knowing how to remove moen bathroom faucet handle can save you time and possibly prevent further plumbing disasters.

Understanding Your Moen Bathroom Faucet
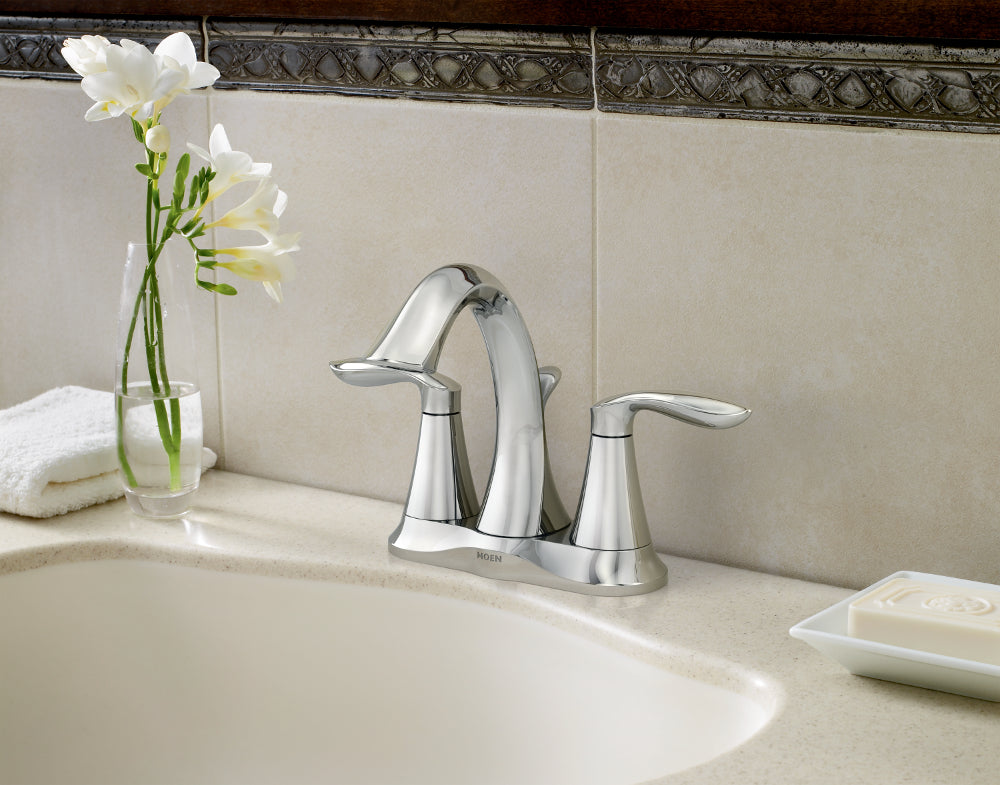
Moen faucets are known for their durability and innovative design. However, their sophisticated design can also make faucet handle removal seem daunting. Knowing the components of your faucet can ease the removal process. Typically, most Moen faucets have a handle, a cartridge, and a trim that holds everything together.
Necessary Tools for the Task
Before you begin, ensure you have the right tools handy:
- Flathead screwdriver
- Phillips screwdriver
- Adjustable wrench
- Towel or rag
- Cup or bowl (for small parts)
Step-by-Step Removal Process
- Turn off the Water Supply: Before attempting any plumbing work, always turn off the water supply to your faucet. This prevents water from gushing out unexpectedly when you start working.
- Remove the Faucet Handle: Locate the screw holding the handle. If its not visible, you may need to pop off a decorative cap first. Once the screw is exposed, use your screwdriver to remove it. Gently pull the handle straight off.
- Examine the Cartridge: After removing the handle, you should see the cartridge. If you're looking to replace it, take this opportunity to inspect the cartridges condition. You may find that it needs replacing to resolve any ongoing leaks.
- Reassemble the Faucet: Once youve completed the task, reattach the handle and any screws or caps, ensuring everything fits snugly.
Additional Tips for Success
If you encounter resistance when trying to remove the handle, do not force it. Instead, use a wrench to gently twist the handle while pulling upwards, which can help break any mineral build-up holding it in place. Always have a towel handy to catch any drips.
Troubleshooting Common Issues
Sometimes, after you've successfully removed the faucet handle, you might face challenges with reassembly or leaks. Make sure that:
- All parts are cleaned of debris.
- You replace any worn-out seals and gaskets.
- You tighten screws adequately without over-torquing them, which can lead to further damage.
Additional Resources
If youre looking for more tips and tricks on faucet maintenance, check out our articles on installing bathroom faucets or fixing leaky faucets.
FAQs
1. What if the faucet handle wont come off?
If the handle is stuck, try applying penetrating oil around the base and let it sit for a few minutes before attempting to pull it off again.
2. How do I know if I need a new cartridge?
If you notice water leaking from the spout even when the handle is off, its likely a sign that the cartridge has worn out and needs replacing.
3. Where can I find replacement parts for my Moen faucet?
You can find replacement parts at local hardware stores, or you can order them online. Moen's official website also lists authorized retailers.

Conclusion
Learning how to remove moen bathroom faucet handle is an invaluable skill for homeowners and DIY enthusiasts alike. By following the outlined steps and maintaining your faucet, you'll ensure your plumbing stays in peak condition. Remember, tackling these home improvement projects effectively saves you both time and money in the long run.
As an Amazon Associate, I earn from qualifying purchases.


