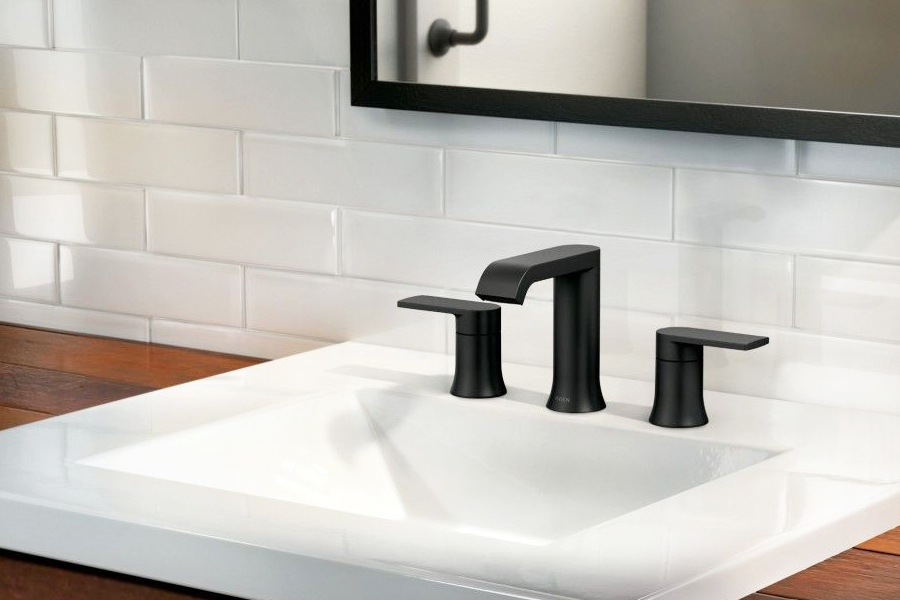
Fixing a leaky bathroom faucet with two handles may seem like an overwhelming task, but fear not! This guide will break down the process into manageable steps. Not only will you save money on costly repairs, but youll also gain valuable skills along the way. Lets dive into the world of faucet repair and tackle those stubborn leaks together!
Leaky faucets are not just an eyesore; they can lead to increased water bills and potential damage to your bathroom. If you're wondering how to fix a leaky bathroom faucet with two handles, the following steps will guide you through the process effectively.

Understanding the Components of a Two-Handle Bathroom Faucet
Before you start, it's essential to understand how your faucet works. A typical two-handle bathroom faucet consists of several key parts:
- Handles: Control the flow of hot and cold water.
- Cartridge: A valve that controls the water flow.
- Washer: A small rubber or silicone piece that can wear out and cause leaks.
- O-rings: Seals that prevent water from leaking around the handles.
Tools and Materials Needed
Gather the following tools and materials before starting your repair:
- Adjustable wrench
- Screwdriver
- Replacement parts (washers, O-rings)
- Plumbers grease
- Towel or rag
Step-by-Step Guide on How to Fix a Leaky Bathroom Faucet
Follow these steps to efficiently fix your leaky faucet:
Step 1: Turn Off the Water Supply
Before attempting any repairs, ensure the water supply to the faucet is turned off. Look for the shut-off valves under the sink and turn them clockwise until fully closed.
Step 2: Open the Faucet
After shutting off the water, open the faucet to relieve any remaining pressure and drain excess water.
Step 3: Remove the Handles
Using a screwdriver, carefully remove the screws holding the handles in place. Once removed, gently lift the handles off.
Step 4: Inspect the Cartridge and O-rings
With the handles removed, you can see the cartridge and O-rings. Check for signs of wear or damage. If the O-rings or washers are worn out, they will need replacing.
Step 5: Replace Damaged Parts
Carefully remove the old cartridge, and replace it with a new one. Make sure to apply plumber's grease to the new O-rings and washers before installation for a better seal.
Step 6: Reassemble the Faucet
Once all parts are replaced, reassemble the faucet in the reverse order of disassembly. Tighten screws securely but be careful not to overtighten.
Step 7: Turn On the Water Supply
After reassembling, turn the water supply back on by twisting the shut-off valves counterclockwise. Check for any leaks by turning the faucet on and off.
Preventing Future Leaks
To avoid future leaks, consider the following tips:
- Regularly check the faucet for any signs of wear.
- Use a water softener if you live in a hard water area, as sediment build-up can cause problems.
- Clean the faucet aerators periodically.

Frequently Asked Questions (FAQs)
1. What causes a bathroom faucet to leak?
A bathroom faucet can leak due to worn-out washers, damaged O-rings, or issues with the cartridge.
2. How do I know if I need to replace the entire faucet?
If youve replaced the washers and O-rings multiple times and the faucet continues to leak, it may be time to replace the entire unit.
3. Can I fix a leaky faucet myself?
Yes! Most leaky faucet repairs can be performed as a DIY project with basic tools and materials.
For more detailed guides, check out how to remove bathroom faucet or how to stop dripping faucet.
Need a new faucet? Explore a wide variety of options at American Standard.
As an Amazon Associate, I earn from qualifying purchases.


