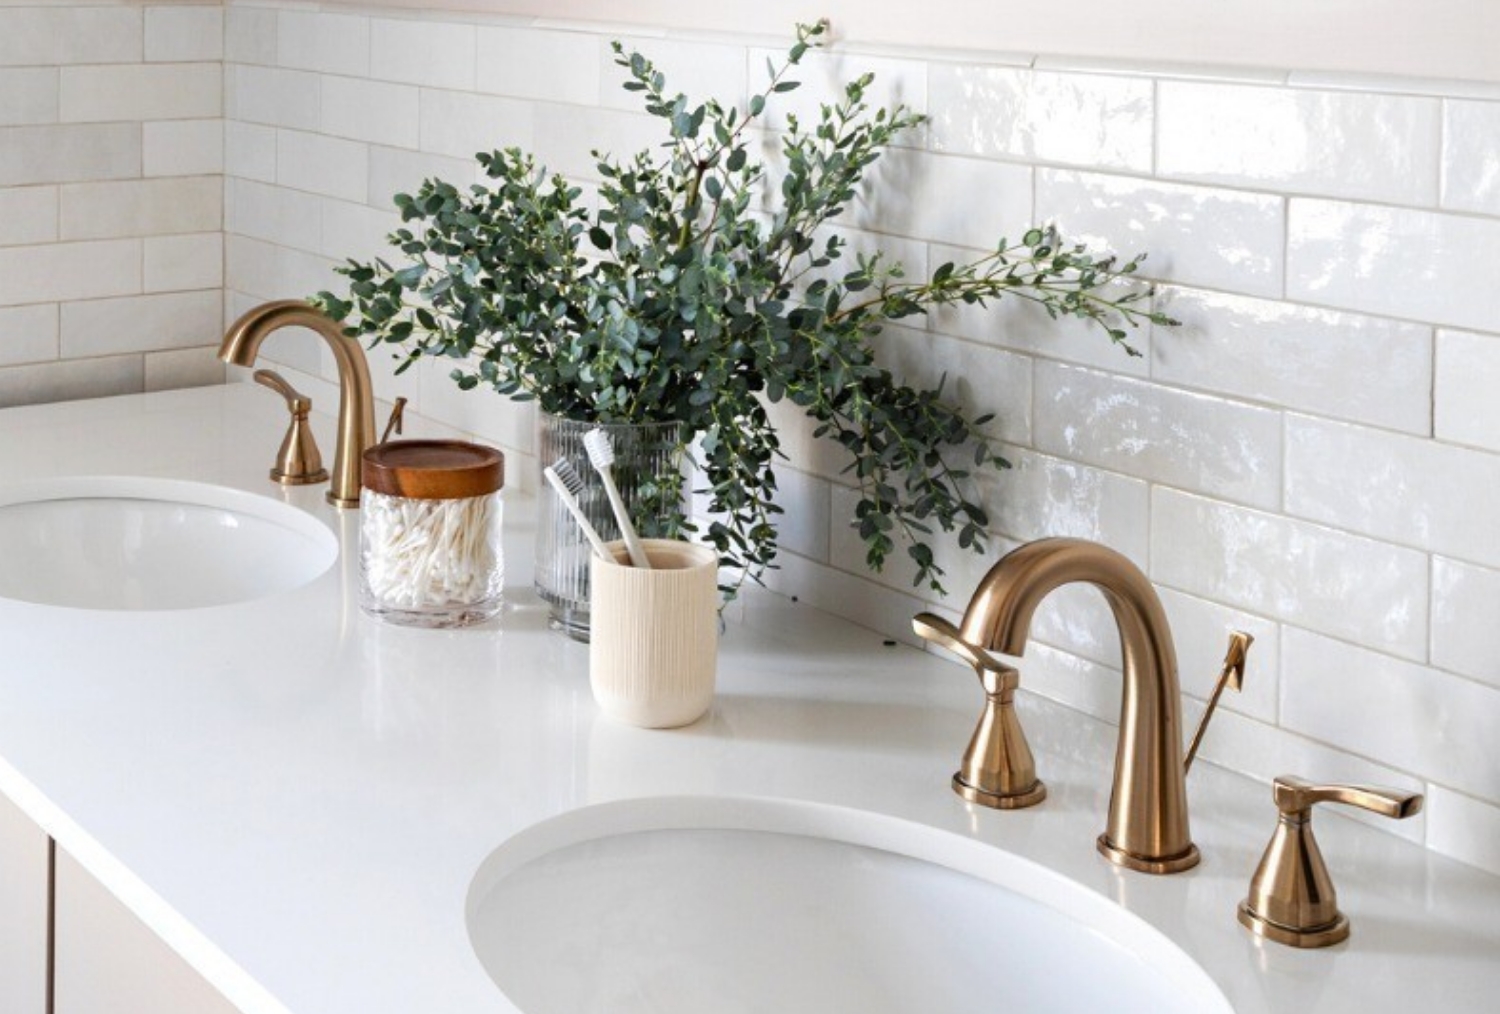
If you're facing issues with your Kohler bathroom faucet, knowing how to remove Kohler bathroom faucet handle is crucial. Whether you need to clean the faucet, replace components, or troubleshoot leaks, understanding the process can save you time and frustration. In this extensive guide, we will cover everything you need to know about the removal of the faucet handle.
There are various reasons you might want to remove the faucet handle, ranging from routine maintenance to upgrading parts. Whatever the reason, our guide will assist you step-by-step through the process, ensuring you can tackle this task without professional help.

Gathering the Right Tools
Before you begin, it's vital to have all the necessary tools. Here's a quick list:
- Flathead screwdriver
- Phillips screwdriver
- Allen wrench
- Pliers
- Rags
- Plumber's grease (optional)
Having these tools handy will make the process smoother and quicker.
Steps to Remove the Faucet Handle
Step 1: Turn Off the Water Supply
Before starting, locate the shut-off valves under the sink and turn them off. This will prevent any water spills while you work.
Step 2: Plug the Drain
Always plug the sink drain with a rag or sink plug to prevent any small parts from falling into the drain during the handle removal.
Step 3: Locate the Handle Set Screw
Remove any decorative cap on the handle to expose the set screw. This screw is usually located at the back or bottom of the handle.
Step 4: Remove the Screw
Using the appropriate screwdriver or Allen wrench, carefully remove the set screw. Keep it in a safe place to reattach later.
Step 5: Pull the Handle Off
Once the set screw is removed, gently pull the faucet handle off. If it doesn't budge, use pliers to wiggle it slightly, but be cautious to avoid damaging the faucet.
What to Do If the Handle is Stuck?
Sometimes, you may encounter resistance when trying to remove the handle. Here are tips to help:
- Apply some plumber's grease around the base and wait a few minutes.
- Gently tap the handle with a rubber mallet to loosen any corrosion.
- A gentle wiggle using pliers can often do the trick.
Maintaining the Kohler Faucet
After removing the faucet handle, its a brilliant opportunity to clean and maintain. Check for any mineral build-up or debris and clean it with a gentle solution. You can check out this excellent guide on changing the faucet washer for more tips on maintaining your faucet.
Reassembling the Faucet
Once youve completed your repairs or maintenance, its time to put the handle back. Simply reverse the removal process:
- Align the handle and press it back in place.
- Reinsert the set screw and tighten it securely.
- Replace the decorative cap.
- Turn the water supply back on.

FAQs about Removing Kohler Faucet Handles
What tools do I need to remove my Kohler bathroom faucet handle?
Typically, you need a flathead screwdriver, Phillips screwdriver, Allen wrench, and pliers.
Is it possible to remove the handle without professional help?
Yes, with the right tools and instructions, most individuals can successfully remove the handle independently.
How often should I maintain my Kohler bathroom faucet?
It's best to perform maintenance tasks every few months or whenever you notice issues, such as leaks.
For additional resources on faucet maintenance, visit this lowes guide.
As an Amazon Associate, I earn from qualifying purchases.


