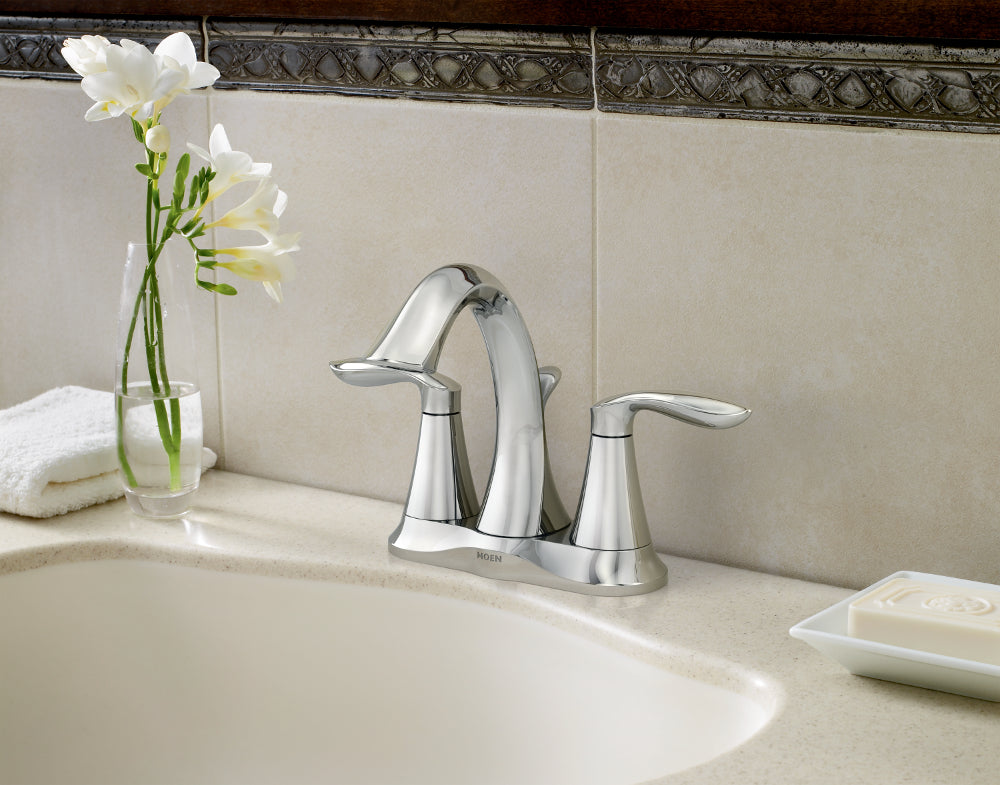
Do you find yourself asking, why is my bathroom faucet dripping? This seemingly trivial issue can not only drive you up the wall, but it could also lead to higher water bills and potential damage to your home. Understanding the reasons behind a dripping faucet and being able to address the problem can save you time, money, and frustration.
In the plumbing world, a dripping faucet is often a sign of an underlying issue that needs your attention. Ignoring the drip may just compound the problem, leading to more significant repairs. Lets delve into the common reasons your bathroom faucet may be leaking and how you can resolve it.

Common Causes of a Dripping Bathroom Faucet
When faced with a leaky faucet, several factors could be at play. Knowing these will help you diagnose the problem effectively.
1. Worn Out Washer
One of the most common reasons a faucet drips is due to a worn-out washer. The washer is a small rubber or plastic component located inside the faucet. Over time, this washer can wear down, causing water to seep through. Replacing the washer is typically straightforward and an excellent place to start your repairs.
2. Corroded Valve Seat
A corroded valve seat, which connects the faucet and the spout, can also cause drips. Minerals from hard water can accumulate and lead to corrosion. If this is the case, consider cleaning the valve seat with vinegar or replacing it if the damage is significant.
3. Loose Parts
Sometimes, the parts of the faucet just need a simple tightening. Handles and other components can become loose over time, leading to leaks. Make sure all parts are securely fastened, and you might just fix the problem.
4. Incorrect Installation
If your faucet has recently been installed, an improper installation could be the culprit. Review the manufacturers instructions to ensure everything is put together correctly and reseat or reassemble components as needed.
How to Fix a Dripping Faucet
If youve identified the problem and want to fix it yourself, heres a simple guide:
1. Gather Necessary Tools
You will need a wrench, screwdrivers, replacement parts (if necessary), and plumbers tape. Having everything on hand can save you from making multiple trips to the store.
2. Turn Off the Water Supply
Before making any repairs, ensure you turn off the water supply to prevent flooding.
3. Dismantle the Faucet
Carefully remove the faucet handle and any visible screws. Keep track of these small components to make reassembly easier.
4. Replace the Washer or Repair Parts
If the washer is worn, replace it. If you find other parts damaged or corroded, address those issues as well.
5. Reassemble and Test
Put everything back together and turn the water supply back on. Check for any remaining leaks.
Additional Resources
If you are looking for a more detailed guide, consider checking out how to fix a leaky bathroom faucet. Whether you're a DIY enthusiast or a beginner, you will find comprehensive instructions to help you tackle the issue.
When to Call a Professional
While fixing a dripping faucet is often a do-it-yourself job, there are instances when its best to call in a professional. If you find that the problem persists after you've attempted repairs, or if you are dealing with complicated plumbing setups, hiring an expert can save you both time and potential headaches.

FAQs
1. How much water can a dripping faucet waste?
A constant drip can waste a significant amount of water; estimates show it can add up to several gallons per day.
2. Can a dripping faucet be a sign of a bigger problem?
Yes, it can be indicative of other issues within your plumbing system. If left unchecked, you could be facing water damage or pipe issues.
3. What's the best way to prevent faucet leaks?
Routine maintenance and timely replacements of worn parts can greatly minimize the chances of faucet leaks.
As an Amazon Associate, I earn from qualifying purchases.


