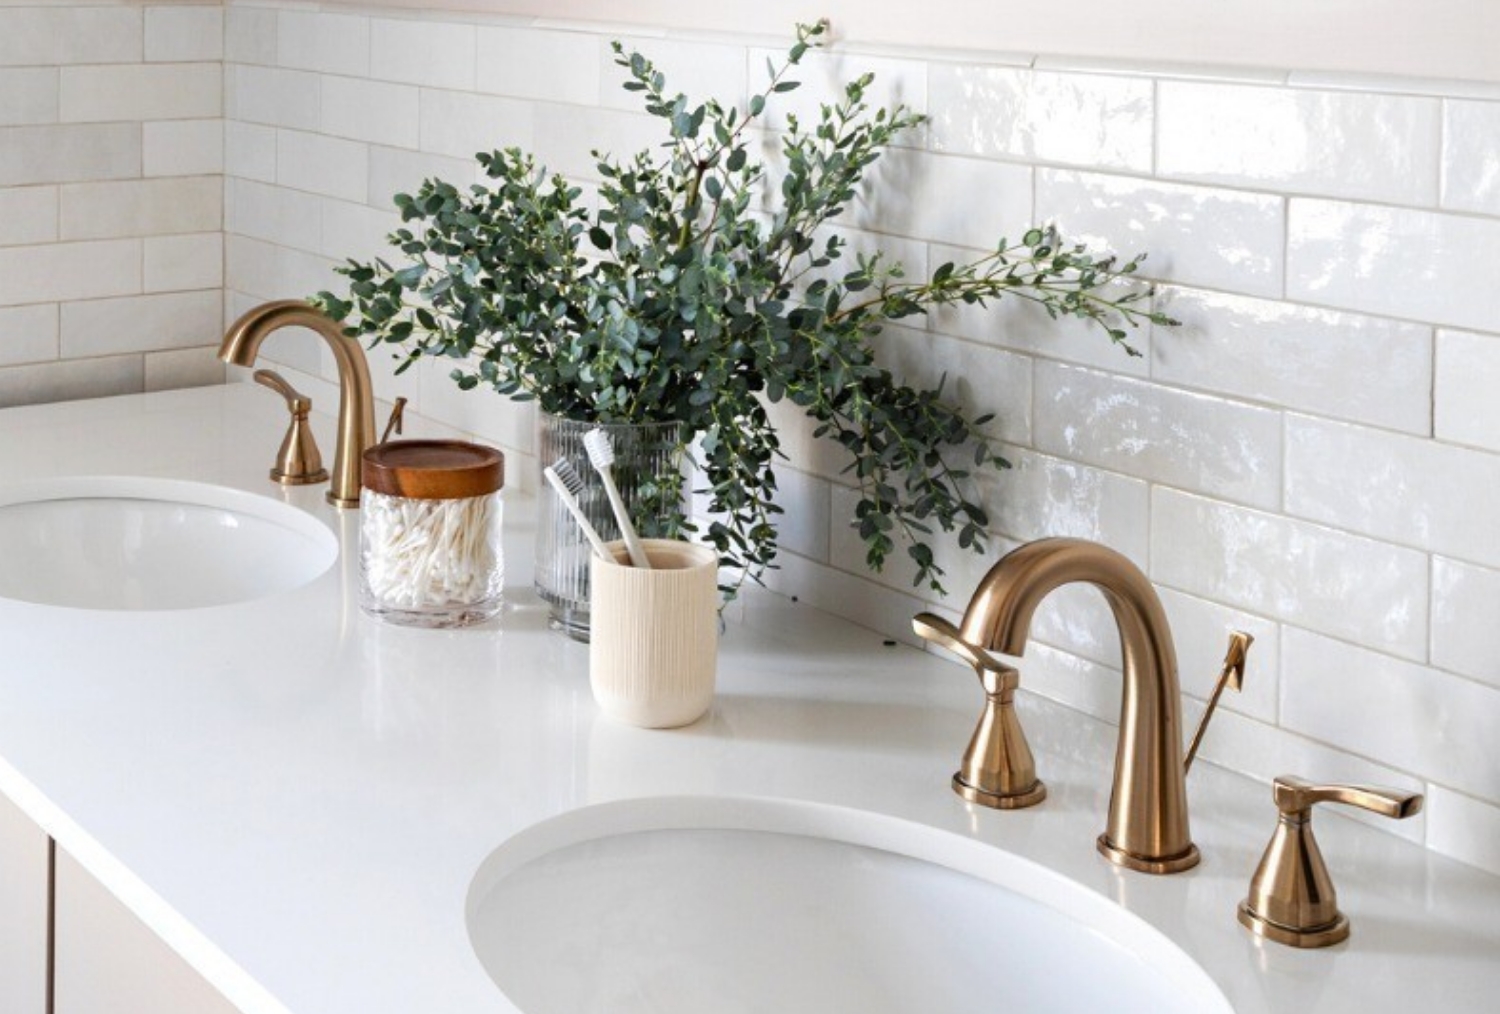
Removing the aerator from your bathroom faucet may appear to be a simple task, yet many individuals encounter challenges when attempting it. In this article, we will walk you through how to remove aerator from bathroom faucet and provide you with valuable tips to make the process as smooth as possible.
The aerator is a small device located at the tip of the faucet, and it serves an essential purpose in regulating water flow and conserving water. Over time, these aerators can accumulate minerals and debris, leading to reduced water pressure and flow rate. Therefore, knowing how to remove aerator from bathroom faucet is crucial for maintaining your faucet's performance.

Gathering the Necessary Tools
Before we dive into the process, ensure you have the right tools at your disposal. Heres what youll need:
- Adjustable wrench
- Plumber's tape (if needed)
- Soft cloth
- Small bowl or bucket
Step-by-Step Process to Remove the Aerator
Now that you have your tools ready, follow these simple steps to remove the aerator from your bathroom faucet:
Step 1: Turn Off the Water Supply
The first step is to turn off the water supply to avoid any mess. Typically, you will find the water shut-off valves beneath the sink. Ensure both hot and cold water is turned off.
Step 2: Remove the Faucet Handle
To access the aerator, you might need to remove the faucet handle. Look for a set screw or cover on the handle that may need unscrewing or popping off. Use a screwdriver or an Allen wrench, if necessary, to gently loosen the handle and pull it off.
Step 3: Unscrew the Aerator
Once the handle is removed, the aerator should be visible at the tip of your faucet. Using your hand, try twisting the aerator counterclockwise. If its stuck, you can use an adjustable wrench, but take care not to scratch the faucets finish. Wrap a soft cloth around the aerator to protect it while using the wrench.
Step 4: Inspect the Aerator
After successfully removing the aerator, inspect it for clogs or damage. Its a good idea to soak it in vinegar to dissolve mineral deposits. Clean the aerator screen with a soft brush or toothbrush before reattaching it.
Step 5: Reassemble the Faucet
Once the aerator is clean or replaced, screw it back onto the faucet by twisting it clockwise. Reattach the faucet handle and secure it with the set screw if necessary. Turn the water supply back on and check for leaks.
Common Issues When Removing the Aerator
Even though removing the aerator is often straightforward, there are common complications some may face:
- Corroded or Stuck Aerator: If the aerator hasn't been removed in a long time, mineral deposits can make it virtually impossible to unscrew without damaging it.
- Cracked Aerator: Handle it gently; over-rotation can lead to cracks making replacements necessary.
- Leaks Post-Reassembly: Always check for leaks after reassembly; this may indicate a need for new plumbers tape or a new aerator.
Why Regular Aerator Maintenance Matters
Maintaining your faucet aerators is important for a few reasons:
- Water Conservation: Clean aerators can help ensure consistent water flow, reducing wastage.
- Cost Savings: A well-maintained aerator leads to lower water bills and avoids costly plumbing repairs.
- Improved Water Pressure: Regular maintenance of the aerator enhances your faucet's water pressure, making daily tasks easier.
When to Replace Your Bathroom Faucet
In some cases, cleaning the aerator may not solve issues related to low water pressure. This may signal that it is time to replace your bathroom faucet. Here are signs indicating replacement:
- Persistent Leaks: If your faucet continues to leak after repair attempts.
- Rust or Corrosion: Visible damage may hinder function and aesthetics.
- Outdated Design: A new faucet can modernize your bathroom's appearance.
FAQs
1. How often should I clean the aerator?
Its advisable to clean the aerator every six months or so, depending on your water quality.
2. Can I use vinegar to clean the aerator?
Yes, vinegar is effective in dissolving mineral deposits.
3. What size wrench do I need for unscrewing the aerator?
An adjustable wrench will typically suffice, ensuring proper grip without damaging the faucet.

Additional Resources
For more insights on bathroom faucet maintenance and installation, check out this article. You can also learn about fixing leaky faucets to enhance your plumbing skills.
As an Amazon Associate, I earn from qualifying purchases.


