In today's eco-conscious world, installing a water-saving toilet has become an essential step towards sustainable living. With the rising concerns over water conservation, homeowners and businesses alike are keen on making environmentally friendly choices. This guide will walk you through the entire process of installing a water-saving toilet, ensuring you reduce your water footprint and contribute to a greener planet. Let's dive into the details!
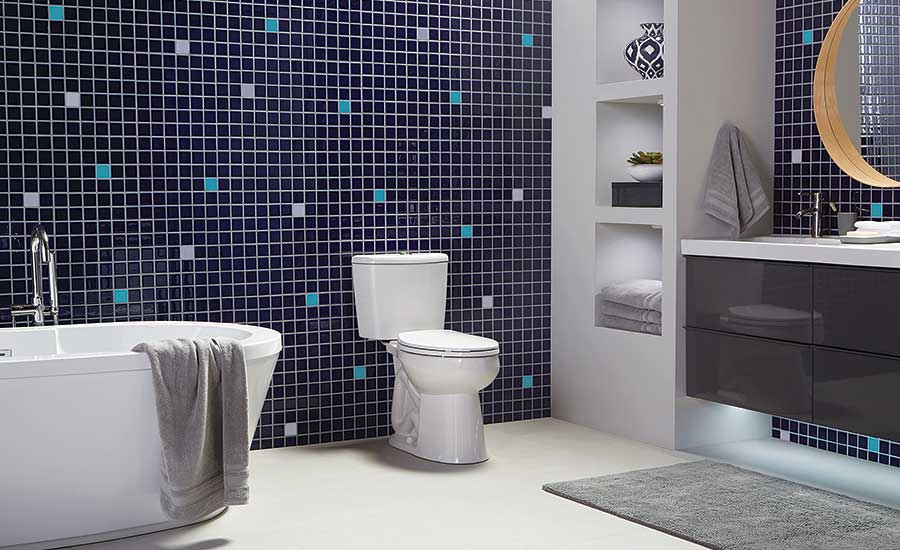
Why Choose a Water-Saving Toilet?
The decision to install a water-saving toilet is not just about reducing water usage but also about cost efficiency. These toilets are designed to use significantly less water than traditional models, which can lead to substantial savings on your water bill. According to Dual Flush vs Single Flush Toilets, dual flush models can provide even further savings by allowing you to choose between a full or half flush.
Preparing for Installation
Before starting the installation process, it's crucial to gather all necessary tools and materials. Here's what you'll need:
- A new water-saving toilet
- Adjustable wrench
- Screwdriver
- Wax ring or rubber gasket
- Bucket and sponge
- Level
Ensure you have a clear understanding of your plumbing setup. If you're unsure, you might find helpful insights in this installation guide from Wagner Mechanical.
Step-by-Step Installation Process
1. Remove the Old Toilet
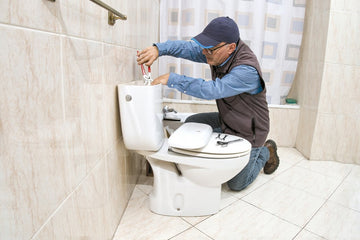
Begin by turning off the water supply to the existing toilet. Flush the toilet to drain as much water as possible, then use a sponge or towel to soak up any remaining water in the tank and bowl. Disconnect the water supply line and unscrew the bolts holding the toilet in place. Carefully lift the old toilet and set it aside.
2. Prepare the Flange
Once the old toilet is removed, inspect the flange for any damage. Clean the area around the flange and remove any old wax or debris. Place a new wax ring or rubber gasket onto the flange.
3. Install the New Toilet
Position the new toilet bowl over the flange, ensuring alignment with the bolts. Press down firmly to seal the wax ring or gasket. Secure the toilet by tightening the nuts onto the bolts, alternating sides to maintain even pressure. Check for level using a level tool.
4. Attach the Tank
Next, attach the tank to the bowl. Position the tank on the bowl and secure it with the bolts provided. Connect the water supply line to the fill valve and turn on the water supply to fill the tank. Check for leaks and tighten connections as needed.
For more insights on how much water these toilets can save, visit How Much Water Does a Dual Flush Toilet Save.
Testing Your New Installation
After installation, it's crucial to test the toilet for any leaks. Flush the toilet several times, checking for leaks around the base and connections. Adjust the water level in the tank if necessary.
Maintenance Tips
Regular maintenance is key to ensuring your water-saving toilet functions efficiently. Here are a few tips:
- Check for leaks regularly.
- Clean the toilet tank to prevent mineral build-up.
- Inspect flapper valves and replace if worn out.
For more tips on reducing water bills with toilets, explore How to Reduce Water Bills with Toilets.
Conclusion
Installing a water-saving toilet is a step in the right direction for anyone looking to make their home more eco-friendly and cost-efficient. By following this step-by-step guide, you can ensure a successful installation while enjoying the benefits of reduced water usage.

FAQ
1. What are the benefits of a water-saving toilet?
Water-saving toilets significantly reduce water usage and help lower water bills. They are also environmentally friendly, contributing to water conservation efforts.
2. How much water can I save with a dual flush toilet?
Dual flush toilets can save thousands of gallons of water annually. For more details, check out What is a Dual Flush Toilet?.
3. Are water-saving toilets difficult to install?
With the right tools and guidance, installing a water-saving toilet can be a straightforward DIY project. However, if you're not confident in your plumbing skills, consider hiring a professional.
For additional resources, you might find this DIY guide helpful.