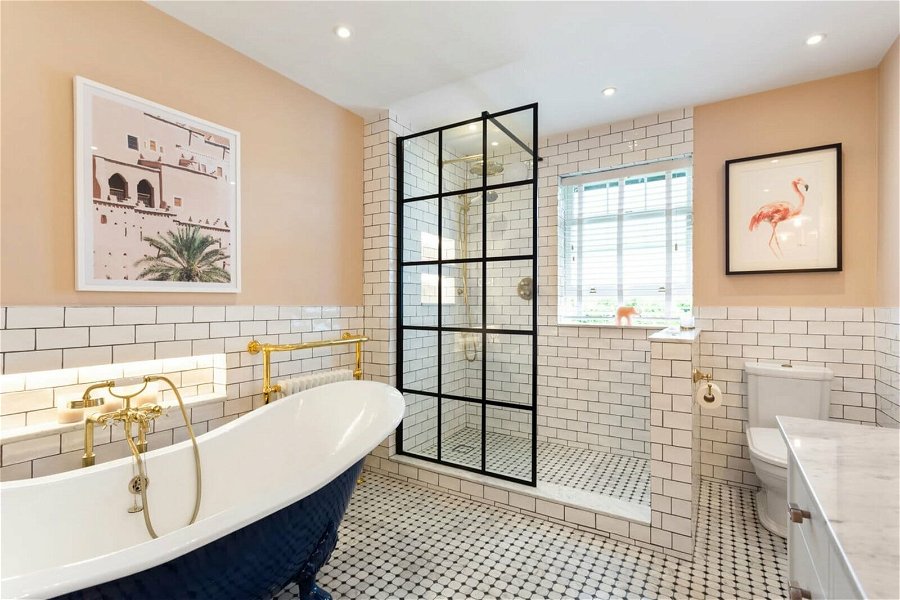
Tiling a bathroom wall is a rewarding project that can dramatically enhance the aesthetic appeal of your space. Whether you're giving your bathroom a complete makeover or simply updating its look, learning how to tile a bathroom wall effectively can be a game-changer. In this guide, we will walk you through the process step by step, ensuring you have the necessary skills and knowledge to tackle this DIY project like a pro.
Before diving into the specifics, its essential to gather all materials, tools, and stepwise instructions required to complete the tiling process efficiently. By understanding the nuances of tiling and the best practices, you can create a stunning bathroom that not only meets your needs but also adds value to your home.

Why Tiling Your Bathroom Wall is Important
The appeal of a beautiful tiled bathroom cannot be understated. Tiled surfaces offer durability, ease of maintenance, and a variety of design options. Here are a few reasons why you should consider tiling your bathroom wall:
- Durability: Tiles are resilient and can withstand moisture, making them perfect for bathrooms.
- Aesthetic Appeal: You can choose from various styles, colors, and patterns to enhance your bathroom's aesthetics.
- Value Addition: Well-tiled walls can increase the resale value of your home.
Essential Tools and Materials
Before starting the tiling process, it's crucial to have the right tools and materials on hand:
- Tools:
- Trowel
- Tile cutter
- Level
- Sponges
- Grout float
- Safety goggles
- Measuring tape
- Materials:
- Tiles
- Thin-set mortar
- Grout
- Backer board (if required)
- Tile spacers
Preparation Steps Before Tiling
Preparation plays a significant role in ensuring the success of your tiling project. Here are the steps to follow:
- Measure and Plan: Begin by measuring the wall area you plan to tile. This will help you calculate how many tiles you will need, including extra for waste.
- Choose Your Tile Design: Selecting the right tile design can be daunting. To get inspired, you can check this gorgeous bathroom tile collection.
- Prepare the Surface: Ensure the wall surface is clean, smooth, and free of any obstructions. You may need to remove old tile or paint.
- Install Backer Board: If tiling over drywall, it's advisable to use cement backer board for moisture protection.
The Tiling Process
Once you have prepared your space and gathered the necessary tools, it's time to start laying the tiles:
- Apply Thin-set Mortar: Using your trowel, spread thin-set mortar onto a small section of the wall.
- Lay the First Tile: Press the first tile firmly into position at the bottom corner of the wall. Use spacers to maintain uniform gaps between tiles.
- Continue Laying Tiles: Continue to apply mortar and lay tiles in rows, ensuring every tile is level. Use a level frequently to check alignment.
- Cut Tiles as Needed: Use your tile cutter to cut tiles for edges or corners for a perfect fit.
Grouting the Tiles
Once the tiles have set, it's time to add grout. Heres how:
- Prepare Grout: Mix the grout as per the instructions on the bag.
- Apply Grout: Use a grout float to spread grout over the tile surface, ensuring it fills the spaces between tiles.
- Clean the Surface: Wipe off excess grout with a damp sponge while letting the grout set for a while.
- Allow to Cure: Follow the manufacturers instructions for drying time.
Finishing Touches
Once the grout has cured, you can give your tiled wall its finishing touches:
- Seal Grout: After 48 hours, apply a grout sealer to protect against staining.
- Caulking: Add caulk where the tiled wall meets fixtures or floors.
Maintenance Tips for Tiled Walls
Caring for your tiled bathroom wall can prolong its life and maintain its beauty. Here are some tips:
- Regular Cleaning: Use a mild cleaner and damp cloth for regular cleaning.
- Avoid Harsh Chemicals: Stay clear of acidic or abrasive cleaners that can damage the grout and tiles.
- Inspect Frequently: Regularly check for cracks or grout damage and repair as needed.
Common Mistakes to Avoid
Even seasoned DIY-ers can make mistakes. Here are some common pitfalls to watch out for:
- Skipping Measurements: Ensure accurate measurements to avoid tile wastage.
- Poor Surface Preparation: Don't overlook the importance of a smooth, clean surface.
- Ignoring Drying Times: Allow adequate time for mortar and grout to dry before using the space.

FAQs About Tiling Bathroom Walls
1. How long does it take to tile a bathroom wall?
The time it takes can vary greatly depending on the size of the bathroom and your experience level, but generally, it can take a full day or more.
2. What is the best tile for a bathroom wall?
Ceramic and porcelain tiles are popular choices due to their durability and moisture resistance.
3. Do I need to seal my tiles?
While not all tiles require sealing, it's often recommended for grout and porous tiles for added protection.
As an Amazon Associate, I earn from qualifying purchases.


