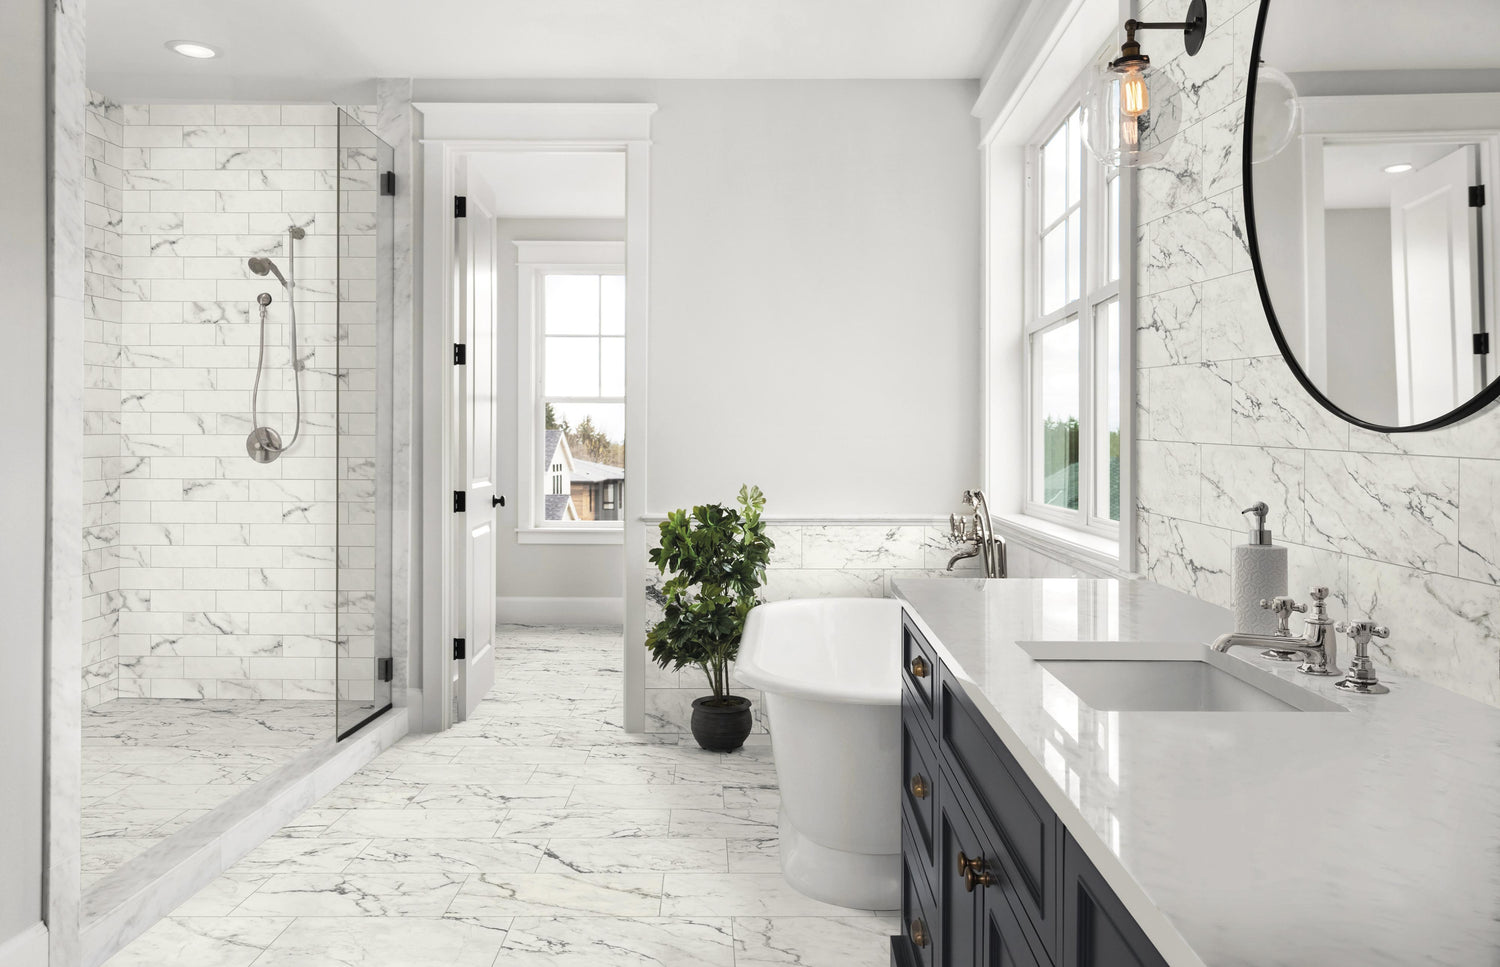
Tiling a bathroom floor on concrete can initially seem daunting. However, with the right approach, tools, and techniques, you can achieve a stunningly finished floor that both looks good and lasts a long time. If you are wondering how to tile a bathroom floor on concrete, this guide will walk you through each step in detail.
This cutting-edge guide is tailored for our Industry QA audiencethose who value precision and quality in every aspect of their work. By the end, you will possess the knowledge needed to execute this project efficiently, ensuring a flawless and aesthetic outcome.

Understanding the Basics of Tiling on Concrete
Before we dive into the step-by-step process of tiling, it is essential to grasp the foundational aspects of working on a concrete surface. Concrete floors are generally sturdy and offer a stable base for tile installation; however, certain preparations are necessary.
The Importance of Surface Preparation
Concrete surfaces must be clean, dry, and level to ensure adherence. Surface preparation involves:
- Cleaning the concrete to remove debris, grease, or any residues.
- Identifying any cracks or holes and repairing them accordingly.
- Checking for unevenness; if necessary, use a leveling compound to create a suitable surface.
Gathering Essential Tools and Materials
Before you start, ensure you have all the necessary tools and materials. Here is a quick checklist:
- Tools: Trowel, tile cutter, level, spacers, rubber mallet, and a bucket.
- Materials: Thin-set mortar, tile adhesive, and of course, your chosen tiles.
Choosing the right tile is equally crucial. For more guidance, check out this link on choosing bathroom tile.
Step-by-Step Procedure: How to Tile a Bathroom Floor on Concrete
1. Mark the Layout
Before laying the tiles, its vital to mark the layout to ensure your design looks balanced. Start by finding the center point of your bathroom and draw two perpendicular lines. This will be your guide for laying tiles.
2. Mix the Thin-set Mortar
Follow the manufacturers instructions to prepare the thin-set mortar. Mix it in a bucket until it reaches a smooth, peanut butter-like consistency.
3. Apply the Mortar
Using a trowel, spread a layer of thin-set mortar onto the concrete surface. Work in small sections to prevent the mortar from drying out. Hold the trowel at a 45-degree angle to create channels in the mortar.
4. Lay the Tiles
Begin laying tiles starting from the center point and working your way out. Use spacers to maintain consistent gaps between tiles. Press each tile firmly into the mortar, ensuring they are level and aligned.
5. Cut Tiles as Needed
When you reach the edges of your installation area, you may need to cut tiles to fit. A tile cutter can help you achieve clean edges effortlessly.
6. Allow the Mortar to Set
After laying all tiles, let the mortar cure according to the manufacturers instructions. Typically, this takes about 24 hours.
7. Grouting the Joints
Once the mortar has set, its time to apply grout between the tiles. Use a rubber float to spread the grout into the space between tiles, ensuring they are filled adequately. Make sure to wipe off excess grout with a damp sponge.
8. Final Touches
After the grout has cured (usually about a week), seal the grout lines to protect against moisture and staining. This final touch will significantly enhance the durability of your tiled floor.
Common Mistakes to Avoid
Even seasoned DIYers sometimes make errors while tiling. Here are common pitfalls to watch out for:
- Skipping surface preparation can lead to adhesion issues.
- Improper mortar mixing, which may affect adhesion.
- Not using spacers, resulting in uneven tile placement.
- Failing to allow adequate time for curing.
Maintenance Tips for Your Tiled Bathroom Floor
Once your project is finished, maintenance becomes crucial. Regularly clean your bathroom floor with appropriate cleaners to prevent grime build-up.
You might also want to consider resealing the grout every year to maintain its protective qualities. For expert insights on how to fix any issues, visit this link on cracked tile repairs.

FAQs
What type of tiles are best suited for bathroom floors?
Porcelain and ceramic tiles are often recommended for bathroom floors due to their durability and moisture resistance.
Can I tile over an existing floor?
Yes, but only if the existing floor is level, clean, and securely attached. Otherwise, its better to remove it first.
How long does it take for the thin-set mortar to dry?
Typically, the thin-set mortar takes about 24 hours to dry, but always check the product instructions for specific times.
As an Amazon Associate, I earn from qualifying purchases.


