In the world of home improvement, few projects are as satisfying as learning how to tile a bathroom floor. Whether you're updating your existing bathroom or starting from scratch, the process can seem daunting. But with the right tools and guidance, it can turn into a remarkably rewarding experience. This guide aims to provide a detailed, practical step-by-step approach that leads you through tiling a bathroom floor effectively.
The article caters to those involved in quality assurance within the industry. By understanding the nuances of tile installation, you can ensure that the end products meet safety and aesthetic standards. Together, let's delve into the essential techniques and precautions for your tiling endeavor.

Understanding the Basics of Tiling
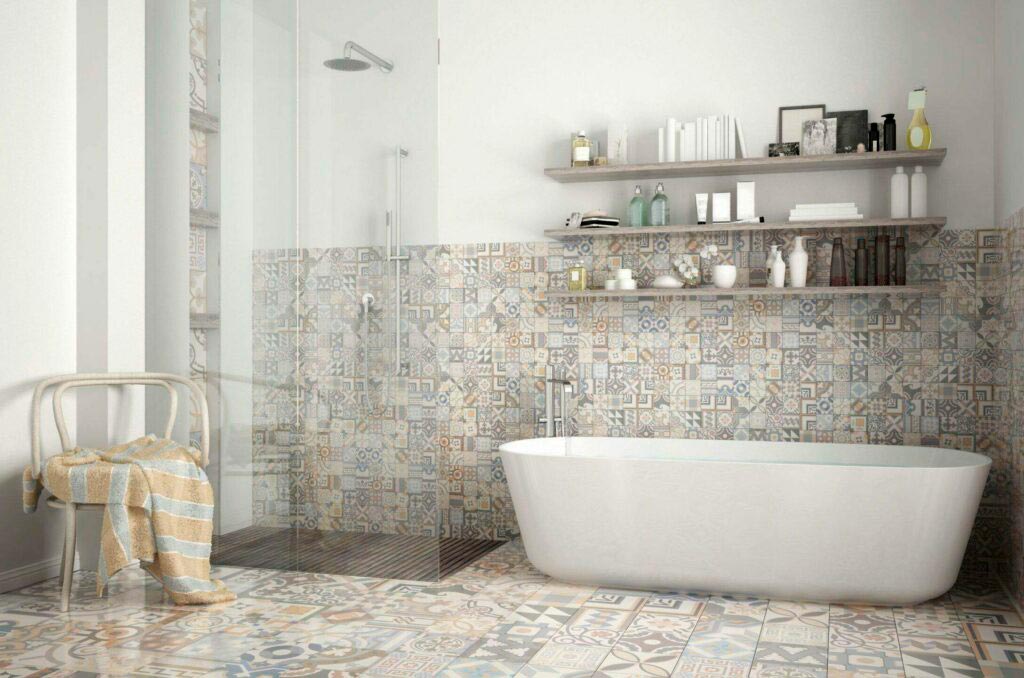
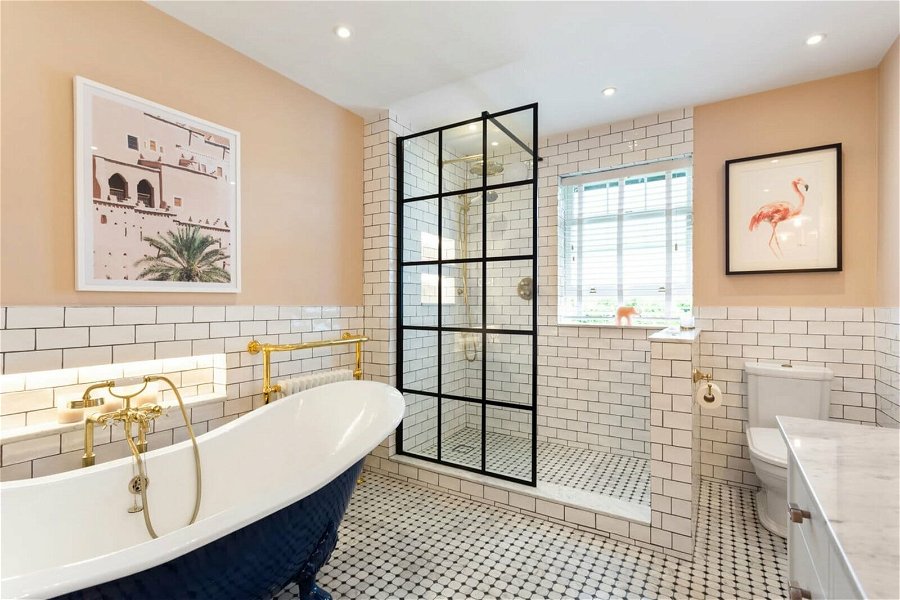
Tiling can be broken into a set of crucial steps that lead to both an aesthetically pleasing and functional result. The first step in how to tile a bathroom floor is to gather necessary materials. You need tiles, thin-set mortar, a trowel, tile spacers, a level, a measuring tape, and a tile cutter. The choice of tile, be it ceramic, porcelain, or natural stone, will impact the overall look of your bathroom.
Preparation: Laying the Foundation
Before diving into installation, proper preparation is key. Start by cleaning the bathroom floor and ensuring its level. If there are any irregularities, use a self-leveling compound to make the surface flat. A flat surface is essential as it will ensure that the tiles adhere well and do not crack over time.
Measuring and Marking Layout
Next, youll want to measure your bathroom space and mark the layout. Use a chalk line for guidance, marking the center of the room and ensuring your tiles are evenly placed. This aspect is vital as it contributes to no awkward cuts on tiles against walls.
Setting the Tiles
Now its time to apply the thin-set mortar. Using a trowel, spread the mortar evenly on the floor in small sections to avoid it drying out before you set the tiles. Then, press the tiles firmly into the mortar, making sure they are level and using tile spacers to maintain equal gaps between them. This is where patience and precision will pay off.
Grouting the Tiles
After setting all the tiles, allow the mortar to cure for at least 24 hours before moving forward with grouting. Prepare the grout according to the manufacturers instructions, and using a grout float, fill in the spaces between the tiles. Clean off excess grout for a neat finish.
Finishing Touches
To complete the tiling process, let the grout cure for another 48 hours. Once dry, apply a sealant to protect the grout and tiles from moisture. Remember, high moisture areas like bathrooms may require more frequent sealing to maintain their appearance.
Choosing the Right Tiles
When it comes to tile selection, consider material based on durability and maintenance. For instance, porcelain tiles are often more resistant to moisture compared to ceramic tiles. For a guide on tile ideas, visit Tile Ideas.
Common Mistakes to Avoid
Even seasoned DIYers can overlook critical aspects during installation. Here is a list of common pitfalls to avoid:
- Skipping Surface Preparation: A clean and level foundation is crucial.
- Incorrectly Spacing Tiles: Utilize tile spacers for uniformity.
- Using the Wrong Grout: Match grout type with tile material for optimal adhesion.
Q&A Section
Q1: Do I need to seal the grout?
A1: Yes, sealing the grout is important as it protects against moisture and stains.
Q2: How long does it take a tiled bathroom floor to dry?
A2: Mortar should be given at least 24 hours to dry before grouting, and grouted floors should ideally cure for another 48 hours.
Q3: Can I tile over existing tile?
A3: Yes, you can tile over existing tiles, provided they are solid and in good condition. Always check local building codes before proceeding.

Final Thoughts
Learning how to tile a bathroom floor can be an excellent way to enhance your home while also sharpening your skills in quality assurance concerning installation standards. Remember, taking the time to prepare properly and work meticulously will yield the best outcomes. In case of any lingering questions, check out Choosing the Perfect Bathroom Tile.
As an Amazon Associate, I earn from qualifying purchases.


