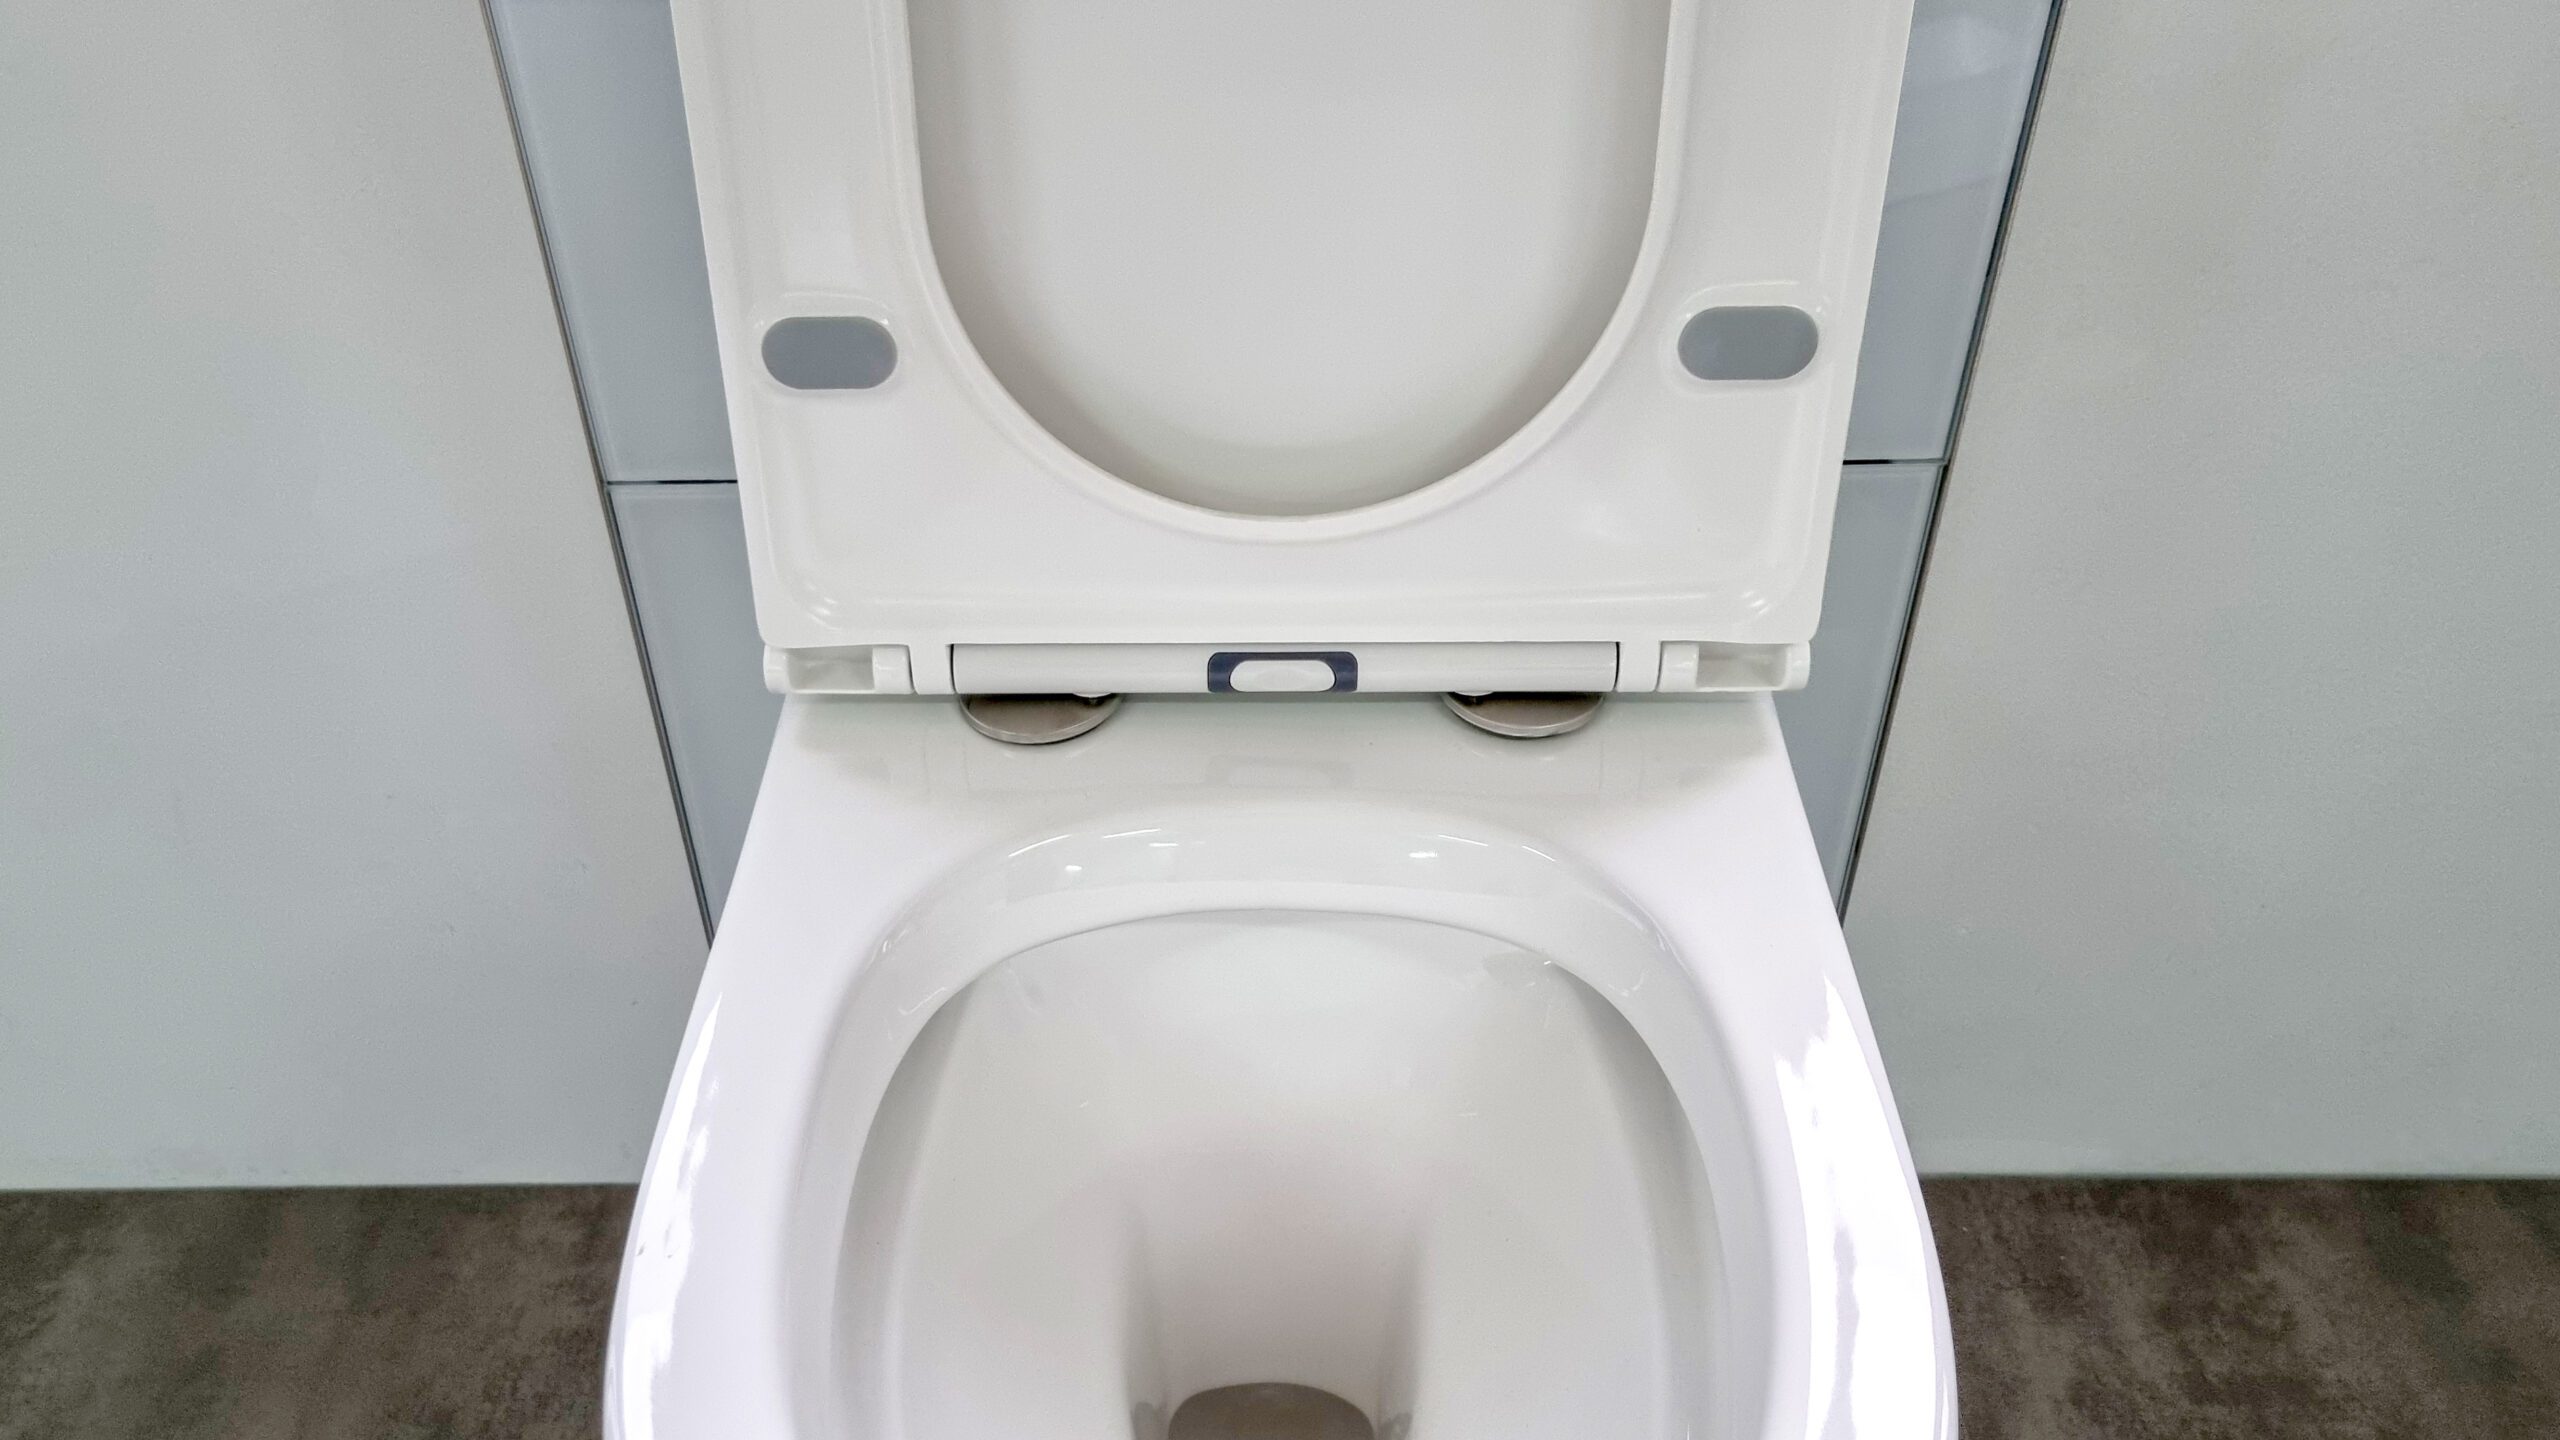
When it comes to maintaining your bathroom, knowing how to replace a toilet seat is an essential skill for any homeowner. Not only does a new toilet seat improve aesthetics, but it also enhances hygiene. In fact, the toilet seat is an often-overlooked area that accumulates germs over time. Hence, a replacement can make a significant difference in your bathroom environment.
Whether you're experiencing issues with squeaky, cracked, or just outdated toilet seats, this comprehensive guide will walk you through the entire process to ensure you replace yours smoothly and efficiently. Lets dive in and learn how to replace a toilet seat and keep your bathroom looking its best.

Essential Tools Needed for the Task
Before you begin, its important to gather all necessary tools to ensure a seamless replacement process. Heres what youll need:
- Flathead screwdriver
- Phillips screwdriver
- Wrench (if needed)
- New toilet seat
- Cleaning supplies (like disinfectant wipes)
Step-by-Step Guide to Replacing Your Toilet Seat
Now that you have your tools ready, lets go through the steps for replacing your toilet seat.
Step 1: Remove the Old Toilet Seat
First, you need to remove the existing toilet seat. Most toilet seats are attached with bolts located at the back of the seat.
- Locate the bolts under the toilet seat.
- Use a screwdriver to unscrew the nuts and remove them. If they are rusty, apply some lubricant.
- If necessary, use a wrench to hold the bolts in place while you unscrew the nuts.
- Once removed, lift the toilet seat off the toilet.
Step 2: Clean the Toilet Bowl
After removing the old seat, its crucial to clean the area thoroughly.
- Use disinfectant wipes to wipe down the toilet bowl where the seat was attached.
- Look for any remaining residue or stains and scrub them away for a fresh start.
Step 3: Prepare the New Toilet Seat
Next, unpackage your new toilet seat and set it up for installation.
- Check the hardware included with the new seat. It should have bolts and nuts.
- Ensure the new seat matches the dimensions of your toilet. If uncertain, consider reading our article on how to measure toilet seat.
Step 4: Install the New Toilet Seat
Here youll install the new toilet seat.
- Align the new seat over the holes where the old one was installed.
- Insert the bolts and secure them with the washers, followed by the nuts.
- Hold the bolts in place with the screwdriver while tightening the nuts. Ensure its snug, but be careful not to overtighten, as it can crack the toilet bowl.
Step 5: Final Check
Once installed, conduct a final check. Test the seat by applying pressure to ensure it is secure and doesnt wobble.
Congratulations! You've successfully learned how to replace a toilet seat and made a positive change in your bathroom.
FAQs about Replacing Toilet Seats
1. How often should I replace my toilet seat?
It is advisable to replace your toilet seat every 5 to 10 years, or as needed, if it shows signs of wear or discomfort.
2. Can I replace the toilet seat myself?
Absolutely! Replacing a toilet seat is a straightforward DIY task that requires minimal tools.
3. What tools do I need to replace a toilet seat?
Youll need a flathead screwdriver, a Phillips screwdriver, and possibly a wrench, along with your new toilet seat.

Additional Tips for Toilet Maintenance
Maintaining your toilet is crucial for a hygienic bathroom experience. Here are some additional resources to help with general toilet upkeep:
- For tips on maintaining your toilet to prevent issues, read 6 Toilet Maintenance Tips.
- Check out Why is My Toilet Water Hot? for troubleshooting tips.
With proper maintenance, you can ensure your toilet lasts longer, enabling a cleaner bathroom experience.
As an Amazon Associate, I earn from qualifying purchases.


