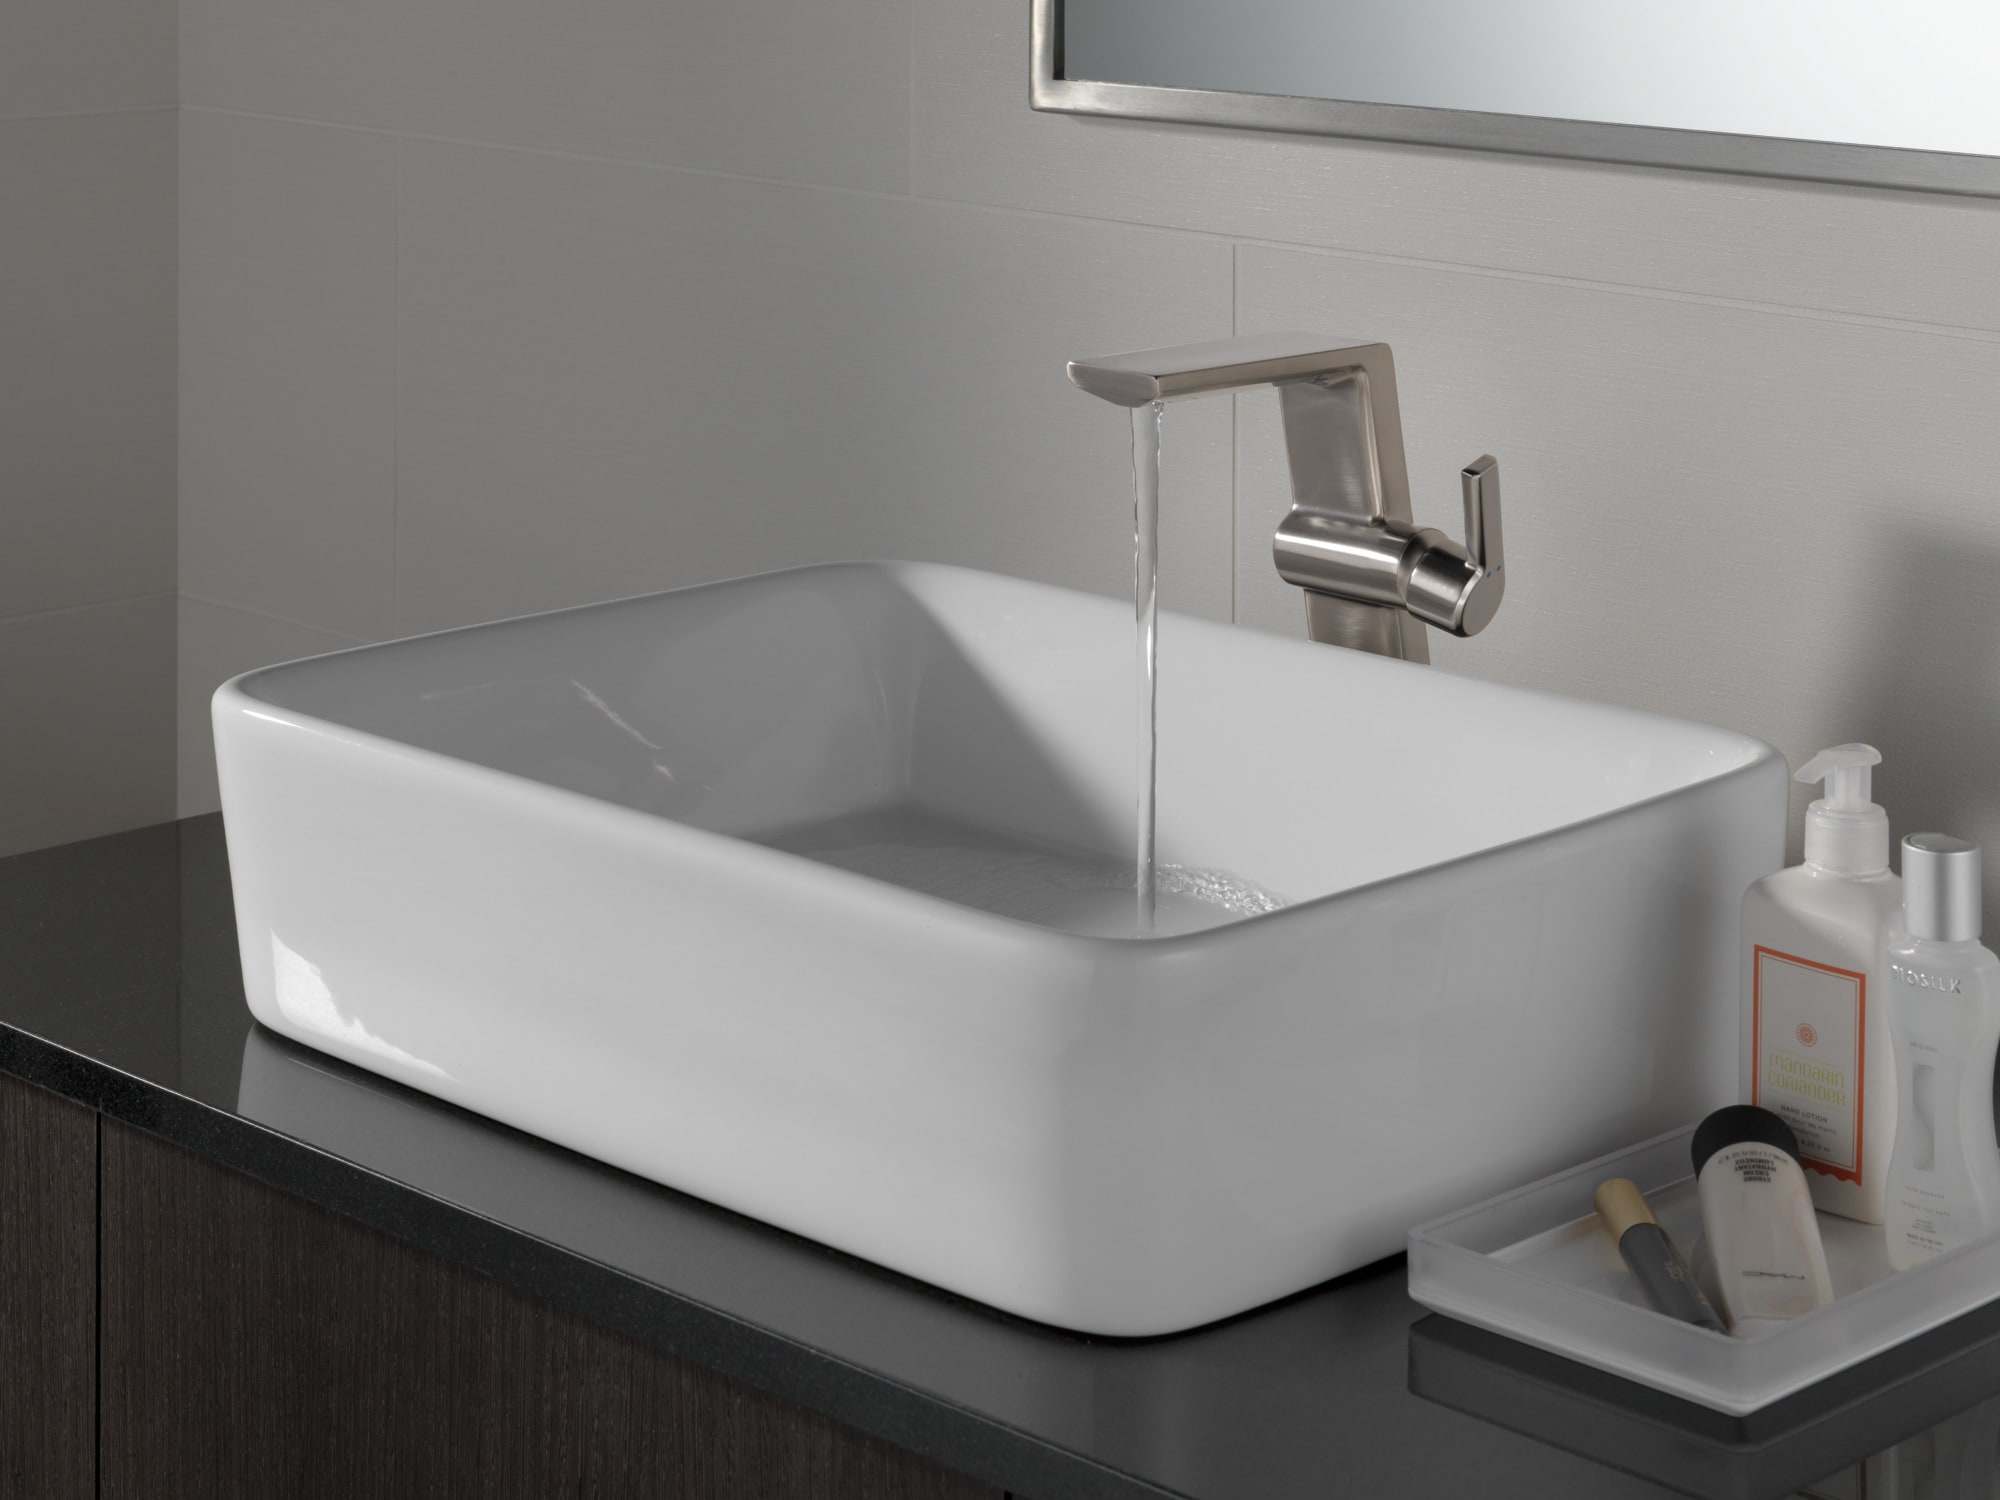
Learning how to remove moen bathroom faucet can be a valuable skill for anyone interested in maintaining their home's plumbing system. Moen faucets are popular for their durable design and functionality, but sometimes, you may need to remove them for repairs or replacements. This article aims to provide detailed steps on how to effectively remove a Moen bathroom faucet, whether it's for routine maintenance or an upgrade.
Before starting, it is essential to ensure you have all the necessary tools at hand. You want to avoid interruptions in the middle of the process. A smooth removal can make the upgrade or repair a lot more satisfying. Ready to dive in? Lets get started!

Tools You Will Need
Every plumber has a unique toolbox, but when it comes to removing a Moen bathroom faucet, here are the essential tools you should have:
- Adjustable Wrench: Useful for loosening fittings and nuts.
- Screwdriver: A flathead and a Phillips-head screwdriver can be crucial for removing screws.
- Pliers: Best for gripping and pulling stubborn parts.
- Bucket or Towel: To catch any water during the removal process and avoid mess.
- Flashlight: Provides visibility in tight spaces under your sink.
Safety Precautions
Before you proceed with any plumbing work, it is important to follow these safety precautions:
- Turn off the water supply to the faucet.
- Place a towel or bucket under the sink to catch any drips.
- Wear safety goggles if you're working in tight spaces.
Step 1: Turn Off Water Supply
The first step in how to remove moen bathroom faucet is to switch off the water supply. Most sinks will have valves located underneath. These valves typically operate by turning them clockwise. If there are no valves under the sink, you might need to shut off the main water supply for your home.
Step 2: Drain Remaining Water
Next, you want to ensure that all remaining water is drained from the faucet. Open the faucet and let any water flow out. This also helps to relieve any pressure that may be in the lines.
Step 3: Disconnect Water Lines
Using the adjustable wrench, loosen the fittings connecting the water supply lines to the faucet. Its important to be gentle yet firm to avoid damaging any parts. Once loose, you can remove the lines completely. Keep a towel handy to soak up any drips.
Step 4: Remove the Faucet
Most Moen faucets are secured by a mounting nut beneath the sink. You'll need to use your wrench or pliers to reach up and unscrew the mounting nut counterclockwise. Depending on the space, this may require some maneuvering.
Step 5: Clean Up and Inspect
Once removed, take the time to clean the area and inspect the mounting surface for any signs of damage or buildup. This will ensure a smooth installation process for your new faucet.
Tips for Successful Faucet Removal
- Refer to the Moen Manual: If you have the installation manual, it can provide specific instructions for your model.
- Have a Helper: If possible, have someone assist you to make the process smoother.
- Take Photos: Capture the connections before disassembly to ensure everything goes back correctly.
Common Issues While Removing a Faucet
Occasionally, you may encounter some common issues when working on a Moen faucet. Here are a few problems and solutions:
- Stuck Nuts: If the mounting nuts are hard to remove, try using penetrating oil and let it sit for a few minutes.
- Corrosion: If you see corrosion, use a wire brush to clean it off before proceeding.
- Limited Space: If space is tight, consider using a basin wrench, which is specifically designed for plumbing tasks in cramped spots.
When to Call a Professional
Sometimes, despite your best efforts, removing a Moen bathroom faucet may become too challenging. Here are some scenarios when it's better to call a professional:
- If you encounter plumbing issues beyond your expertise, such as leaks around the installation point.
- If the plumbing fittings are damaged and require replacement.
- If you don't have the necessary tools or skills for a safe installation.
Replacing Your Moen Faucet
Now that you know how to remove moen bathroom faucet, you might be considering replacing it. Look into different options that suit your style and needs. For more information on choosing the right faucet, check out this buying guide.
Conclusion
Removing a Moen bathroom faucet can be straightforward if you follow the proper steps and take the necessary precautions. With the right tools and guidance, you can maintain or upgrade your faucet in no time. Remember, if at any point the task feels overwhelming, do not hesitate to seek help from a plumbing professional.

FAQs
1. How long does it take to remove a Moen bathroom faucet?
Typically, removing a Moen bathroom faucet can take anywhere from 30 minutes to an hour, depending on factors like space and cleaning.
2. What if I can't shut off the water supply?
If you can't find or access the shutoff valves, it's crucial to shut off the main water supply to your house.
3. Can I replace a faucet on my own?
Yes, if you have the necessary tools and are comfortable with basic plumbing tasks, you can replace a faucet on your own.
As an Amazon Associate, I earn from qualifying purchases.


