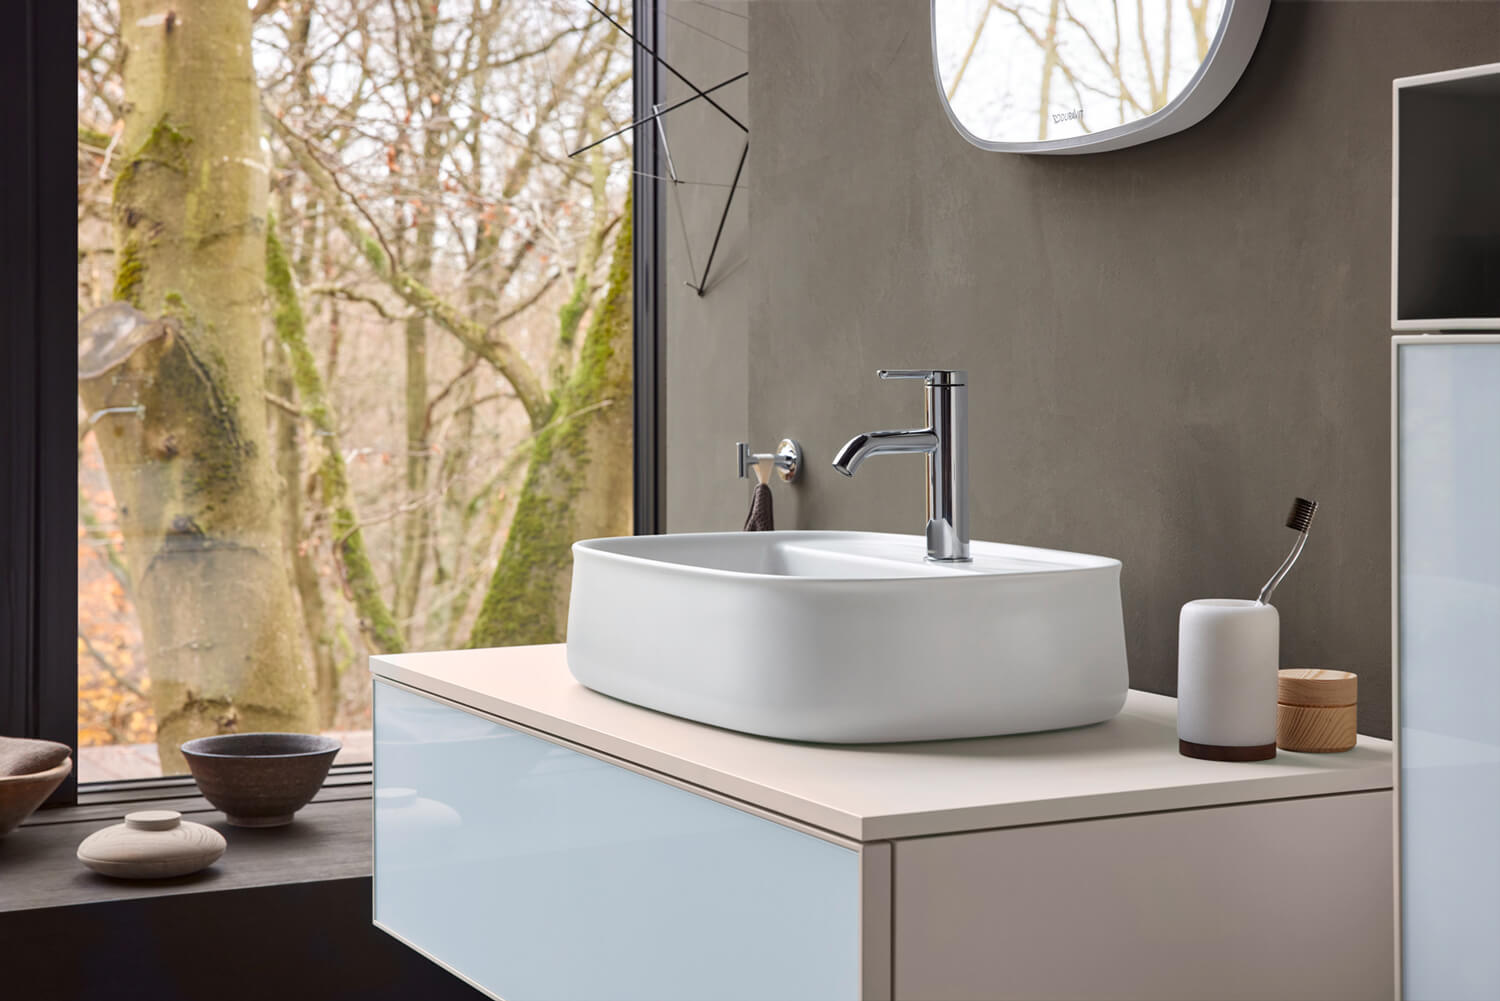
Removing a bathroom sink stopper may seem like a daunting task, but with the right knowledge and tools, it can be accomplished easily. Understanding how to remove bathroom sink stopper is an essential skill for homeowners and DIY enthusiasts alike. This guide will break down the process into simple, manageable steps while providing useful tips along the way.
A built-up sink clog is not just annoying; it can also lead to larger plumbing issues over time. Therefore, knowing how to effectively remove the stopper is vital for regular maintenance. Lets delve into the methods you can use for this essential plumbing task.

Why Should You Know How to Remove a Sink Stopper?
There are several reasons why having the skill to remove a sink stopper is necessary:
- Maintenance: Regular cleaning of sink stoppers can prevent clogs.
- Fixture Replacement: If you decide to upgrade or replace your sinks design, removing the existing stopper is essential.
- Emergency Repairs: Knowing how to remove the stopper allows you to quickly address issues before they escalate.
Types of Bathroom Sink Stoppers
Understanding the types of stoppers will help you determine the best method for removal. The primary types are:
- Lift and Turn: This type requires you to lift the stopper to remove it.
- Push and Pull: A simple push-down action controls its opening and closing.
- Pop-Up: A lever connected to the sink's drain toggles this stopper up and down.
- Toe-Touch: Similar to the push-and-pull type but operated with the foot.
Tools Youll Need
Before beginning the removal process, gather the following tools:
- Plumber's wrench
- Screwdriver
- Pliers
- Bucket (to catch any excess water)
- Cleaning Cloth (to wipe surfaces after completion)
Step-by-Step Guide on How to Remove a Bathroom Sink Stopper
Step 1: Determine the Type of Stopper
Identify the type of sink stopper installed in your bathroom as it dictates the removal method. Common designs include the lift-and-turn and the pop-up stoppers.
Step 2: Water Drainage
First, make sure to drain any excess water from the sink. Use a bucket to catch any water that might spill when you remove the stopper.
Step 3: Locate the Stopper Mechanism
Look under the sink to locate the stopper mechanism. This typically involves a rod or lever connected to the sink's drain.
Step 4: Remove the Stopper
For pop-up stoppers, follow these steps:
- Locate the retaining nut underneath the sink that holds the rod.
- Using your pliers, loosen and remove the retaining nut.
- Once freed, pull the rod out to access the stopper.
- Lift the stopper out of the sink, ensuring no parts remain lodged in.
Step 5: Clean the Area
Once the stopper is removed, take this opportunity to thoroughly clean the sink area. Tackle any debris or build-up that may have gathered.
Tips for Reinstallation
Once you have successfully removed the sink stopper and completed any necessary cleaning, you may need to reinstall or replace it. Here are some tips to ensure a smooth process:
- Double-check the orientation of the stopper before installing it back into the sink.
- Ensure the retaining nut is securely fastened to avoid leaks.
- Test the sinks operation after reinstallation to ensure it functions as intended.
Common Issues Encountered
Occasionally, you may run into issues during the removal process:
- Rust: If parts appear rusty, consider replacing them to avoid future issues.
- Stuck Stopper: If the stopper wont budge, applying a lubricant may help.
- Leaking: If you notice leaks after reinstallation, check the alignment of the parts.
When to Call a Professional
While most homeowners can manage stopper removal on their own, there are times when calling a professional is advised. If you experience persistent issues such as ongoing leaks or a complex assembly that doesnt respond to your efforts, seeking professional help can save time and avoid causing further damage.

Frequently Asked Questions
1. How often should I clean my sink stopper?
It is advisable to clean your sink stopper at least once every few months. Regular cleaning can prevent clogs and build-up.
2. Can I replace my sink stopper myself?
Yes, replacing a sink stopper is usually a straightforward process that you can manage yourself if you are comfortable working with basic plumbing.
3. What should I do if my sink is still clogged after removing the stopper?
If your sink remains clogged after removing the stopper, you may need to try unclogging methods such as using a plumbing snake or calling a professional service for assistance.
For further plumbing tips, you can read about unclogging bathroom sinks.
As an Amazon Associate, I earn from qualifying purchases.


