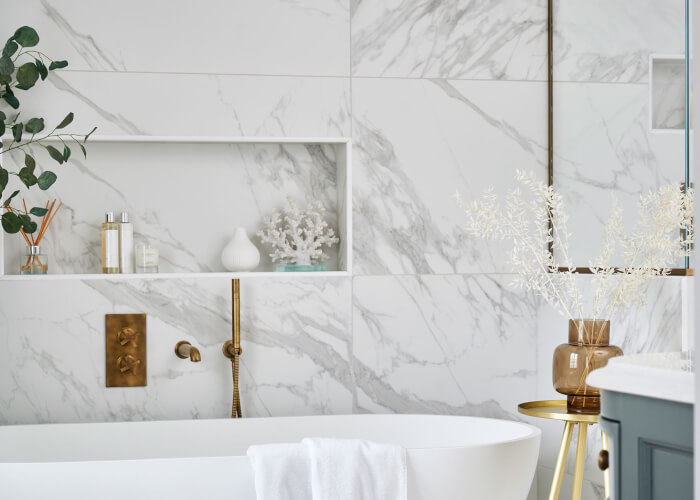
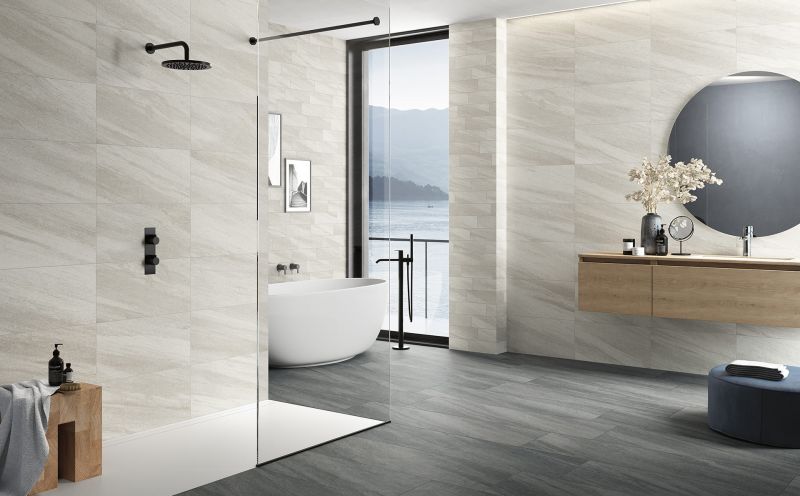
Have you ever walked into a bathroom and cringed at the sight of outdated, dull, or stained tiles? If you're looking to rejuvenate your space without the expense of a complete remodel, learning how to reglaze bathroom tile could be the perfect solution. Reglazing allows homeowners to restore the beauty of their bathroom tiles while offering a fresh new look that feels vibrant and clean.
Not only does reglazing save you money, but it also minimizes the hassle of replacing tiles entirely. With the right tools and some guidance, you can transform your tired tiles into a stunning focal point of your oasis. In this article, we'll cover the entire processfrom planning and preparation to application and maintenanceensuring you have all the information you need.

Understanding the Basics of Tile Reglazing
Before diving into how to reglaze bathroom tile, it's vital to understand what tile reglazing entails. Essentially, this process involves applying a new coat of glaze to the surface of your existing tiles, giving them a brand-new appearance. It's an excellent option for ceramic and porcelain tiles, especially in bathrooms.
Some of the advantages of reglazing include:
- Cost-Effective: Reglazing can be a fraction of the cost of installing new tiles, saving you hundreds or even thousands of dollars.
- Time-Saving: The process is quick and can often be completed in a single day.
- Minimal Disruption: Since you are keeping your existing tiles, there's little disruption compared to a full renovation.
Gather Your Tools and Materials
Before you begin, gather the necessary tools and materials for the project. Heres a list of what you'll need:
- Tile cleaner
- Sandpaper (220-grit)
- Patching compound (if needed)
- Masking tape
- Spray primer (for tiles)
- Rugged gloves
- Respirator mask (for safety)
- Tile glaze (two-part epoxy glaze works best)
- Paint rollers and brushes
It's essential to ensure that all your materials are on hand before you start to avoid interruptions in your project.
Steps on How to Reglaze Bathroom Tile
Now that you are equipped with the right tools and have a basic understanding of what tile reglazing is, lets get into the step-by-step process of how to reglaze bathroom tile.
Step 1: Prepare the Area
Start by cleaning the tiles thoroughly with a suitable tile cleaner. Remove any soap residue, mildew, or grime, ensuring a cleaned surface for the glaze to adhere properly. Next, use sandpaper to lightly sand the surface of the tiles. This roughens the surface, helping the glaze stick better. Make sure to wear your respirator mask and gloves to avoid inhaling dust.
Step 2: Masking
Once the tiles are cleaned and sanded, use masking tape to cover any areas you do not want to be glazedlike edges, fixtures, and corners. This step is crucial for achieving a neat finish during the reglazing process.
Step 3: Patching
Inspect the area for chips or cracks and use your patching compound to fill any damages. Allow it to dry according to the manufacturers instructions before continuing.
Step 4: Priming
Apply a priming coat to the tiles. This step is necessary for ensuring better adhesion of the glaze. Allow the primer to dry as per instructions, usually around an hour.
Step 5: Glazing
Now comes the fun part! Mix the tile glaze as per the manufacturer's instructions. Use a roller to apply the glaze evenly on the tiles. Dont forget to use a brush for edges and corners, ensuring even coverage. Let the first coat dry, then apply a second coat.
Step 6: Curing the Glaze
After applying the final coat, allow the glaze to cure as per manufacturer instructions, which often takes several days. This process will harden the glaze and ensure its longevity.
Maintenance Tips for Your Newly Reglazed Bathroom Tile
After you've successfully completed the process of how to reglaze bathroom tile, maintenance is essential to keep your tiles looking great. Here are some tips:
- Avoid harsh cleaners that could damage the glaze.
- Regularly clean your tiles with a gentle pH-balanced cleaner.
- Gently scrub with a soft-bristle brush for stubborn stains.
- Always dry the tiles after washing to prevent moisture build-up.
Common Questions about Reglazing Bathroom Tiles
1. How long does the reglazing process take?
The actual application process can take only a few hours. However, curing time can take several days.
2. Can you reglaze tiles without removing them?
Yes, reglazing is designed for existing tiles. You do not have to remove the tiles to reglaze them successfully.
3. Is reglazing a durable option?
Yes, when done correctly, reglazed tiles can last for many years, often providing a sturdy surface thats resistant to wear.
Why Choose Reglazing Over Replacement?
Choosing to reglaze bathroom tile comes with its set of advantages over replacement. Not only is it cost-effective, but it is also a less disruptive option. If you want a fresh look without the monumental commitment of tile replacement, reglazing is often the way to go.
For additional tips on bathroom renovations, check out this article on getting bathroom tile right.

Enhancing Your Bathroom Style with Reglazed Tiles
Once you've mastered how to reglaze bathroom tile, you can also consider other styles and design choices that complement your new look. Choosing colors that match or accent your reglazed tiles can create a cohesive aesthetic in your bathroom.
For color ideas that blend with pink tile, see our insights on what colors go with pink tile.
As an Amazon Associate, I earn from qualifying purchases.


