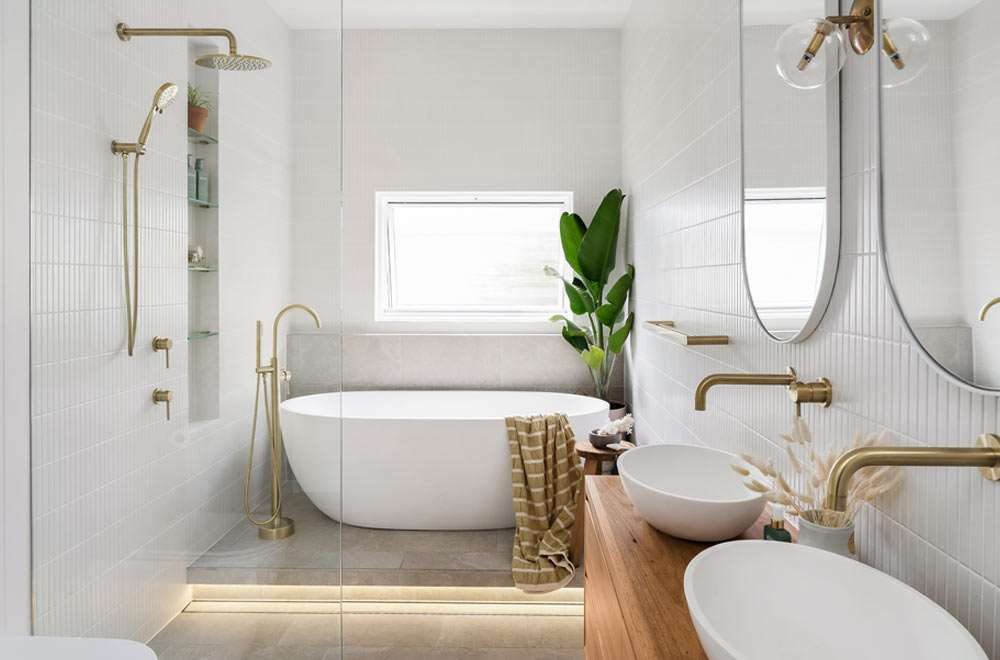
Are you tired of looking at your old, worn out bathtub? Wondering how to reglaze a bathtub to restore its stunning appearance? You're not alone! This guide is here to provide you with all the answers and help you achieve the remarkable results you desire. By following our tips and tricks, you will learn to master the art of bathtub reglazing. Get ready to bring your bathroom back to life!
In this detailed article, we will cover everything from the important tools needed for the job to step-by-step procedures, and highlight the benefits of reglazing. So grab those tools and roll up your sleeves, because our ultimate, must-read guide on how to reglaze a bathtub is right here!
:max_bytes(150000):strip_icc()/nkba-bathroom-design-trends-2024-0c7268df25f34b4e938038805d120641.jpg)
Understanding Bathtub Reglazing
Bathtub reglazing is a process that involves applying a new coating to an old bathtub, effectively restoring its shine and luster. With time, even the shiniest bathtubs can develop chips, stains, and tarnish. Rather than replacing your entire tub, reglazing is a cost-effective and relatively simple way to extend its life and enhance the overall look of your bathroom.
This process can be conducted on various bathtub materials including porcelain, acrylic, and fiberglass. A quick reglaze can make your old tub look as good as new, keeping your bathroom looking pristine. If you are wondering whether reglazing is for you, consider the amazing transformation it can bring!
Tools and Materials Needed
- Epoxy Primer
- Reglazing Kit (includes high-gloss finish paint)
- Acetone (for cleaning)
- Sandpaper (400-grit preferred)
- Masking Tape
- Paint Roller and Brush
- Protective Gear (gloves, mask, goggles)
Collecting all your tools and materials before you start will ensure that your project runs smoothly.
Step-by-Step Guide on How to Reglaze a Bathtub
Step 1: Prepare the Workspace
First, you need to prepare the workspace adequately. Clear the bathroom of all items such as shampoos and bath mats. Open the windows for ventilation since some chemicals can be strong. Cover the surrounding areas with plastic sheeting to protect them from overspray.
Step 2: Clean the Bathtub
Next, its essential to deep clean the bathtub. Use a cleaning solution or simply follow the instructions from this cleaning guide. Ensure to scrub away any soap scum and mildew.
Step 3: Sand the Surface
Once your tub is clean, use sandpaper to lightly sand the tubs surface. This step is crucial as it allows the new coatings to adhere properly. Ensure you rinse off any dust particles after sanding.
Step 4: Apply the Primer
Using a paint roller, apply the epoxy primer evenly across the bathtub to help seal it. Allow this to dry according to the manufacturer's instructions.
Step 5: Reglaze the Bathtub
After the primer is completely dry, proceed to apply the high-gloss finish paint from the reglazing kit. This will give your tub that shine and a beautiful look. Using a combination of the roller and a brush for detailed areas will yield the best results.
Step 6: Allow the Finish to Cure
After applying the reglaze, let it cure as per the specified time on the product instructions. This is a crucial step to achieving a durable finish. Avoid using the bathtub during this period.
Benefits of Reglazing Your Bathtub
Reglazing your bathtub not only enhances appearance but also comes with multiple benefits, including:
- Cost-Efficiency: It's significantly cheaper than a full bathtub replacement.
- Quick Results: Most projects can be completed within a day.
- Sustainability: Keeping your existing tub reduces waste.
- Minimal Disruption: Unlike remodeling, reglazing requires less effort.
FAQs about Bathtub Reglazing
1. How long does bathtub reglazing last?
Typically, a reglazed bathtub can last anywhere from 5 to 10 years depending on usage and maintenance.
2. Can I reglaze a bathtub on my own?
Yes, many homeowners successfully complete bathtub reglazing as a DIY project, particularly with comprehensive instruction.
3. Will reglazing cover deep scratches?
Reglazing can fill in light scratches, but for deep gouges, its best to consult a professional or repair them before reglazing.

Conclusion
Following the tips laid out above, you can say goodbye to that grimy old bathtub and hello to a dazzling new finish! Remember why you wanted to learn how to reglaze a bathtubits all about creating an incredible haven in your home.
For more insights into maintaining and upgrading your bathtub, check out additional articles, such as cleaning with baking soda, bathtub costs, and removing rust.
As an Amazon Associate, I earn from qualifying purchases.


