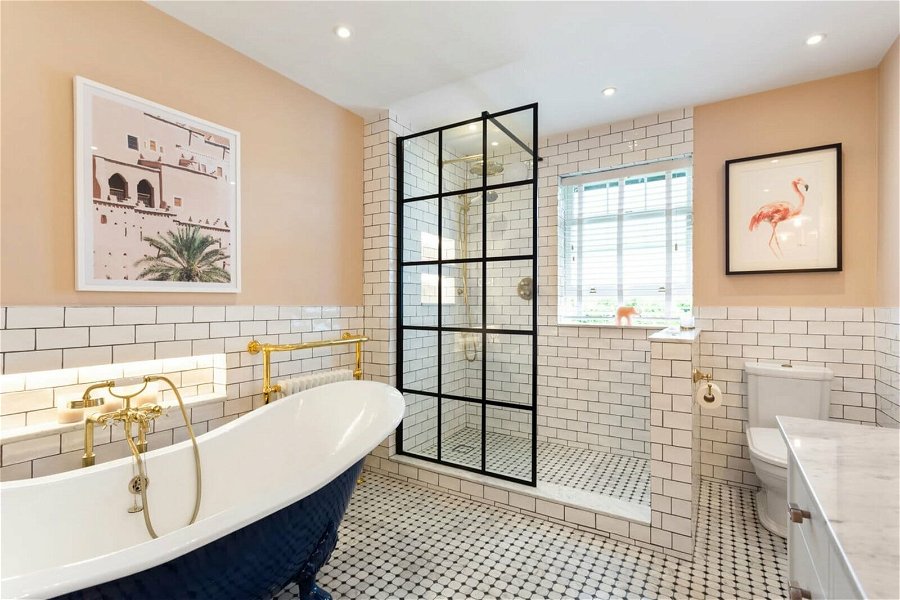
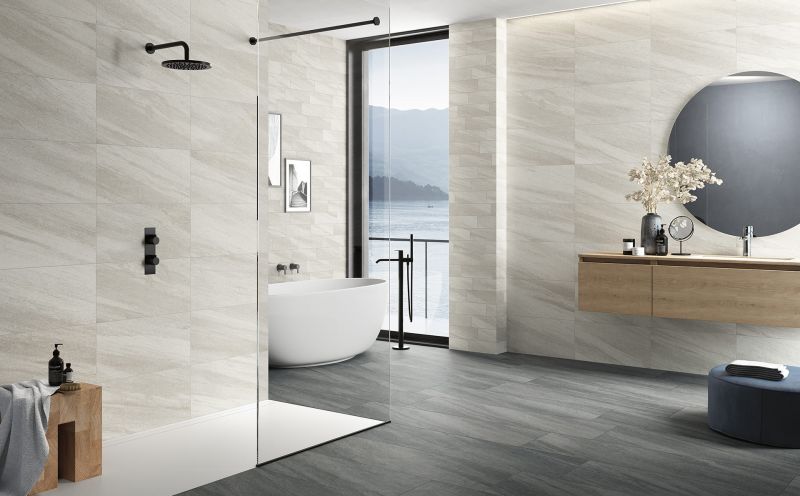
Are you considering a DIY project and wondering how to redo bathroom tile? Redoing your bathroom tiles is an excellent way to breathe new life into your space without breaking the bank. With careful planning and attention to detail, you can transform your bathroom into an exquisitely styled space that feels like a retreat. This article will guide you step by step to achieve stunning results.
The process of redoing bathroom tile involves both creative and practical skills. You will need to select suitable tiles, understand the layout, and acquire tools for installation. Whether youre aiming for a modern look or a classic feel, the right approach is crucial. Lets get started!

Understanding the Basics of Tile Selection
Before jumping into the project, it is essential to understand the different types of tiles available. The choice of tile can influence the overall appearance and functionality of your bathroom. Common materials include:
- Ceramic Tiles: Durable and resistant to moisture, making them ideal for bathrooms.
- Porcelain Tiles: Stronger than ceramic, these tiles are great for high-traffic areas.
- Natural Stone Tiles: Bring elegance but can require more maintenance.
Once you choose the material, look for designs that complement your aesthetic. For a deeper understanding of the best options, check out this essential guide for choosing tiles.
Preparing for the Project
Preparation is key when learning how to redo bathroom tile. Before you begin laying tiles, ensure a safe and organized workspace:
- Gather Tools: Common tools needed for tile installation include a tile cutter, trowel, level, sponge, and grout float.
- Remove Current Tiles: If you're replacing existing tiles, carefully take them off. You can use a chisel or a crowbar for this task.
- Clean and Repair Surfaces: Clean the substrate and repair any damaged areas to ensure a smooth installation.
Determining the Tile Layout
After preparing your surface, determine how you want to lay your tiles. The layout affects not only the appearance but also how the tiles interact with light and space. Popular laying patterns include:
- Straight Lay: Align tiles in a grid. It is simple and works well in most settings.
- Diagonal Lay: Add interest by laying tiles at a 45-degree angle.
- Herringbone: A classic style that adds a unique twist.
Installing New Tiles
Now comes the exciting part of redoing bathroom tile the actual installation. Follow these steps:
- Apply Adhesive: Use a suitable tile adhesive on the substrate with your trowel. Start at the center and work outward.
- Set Tiles: Press each tile firmly into place, leaving a small gap for grout.
- Use Spacers: Insert spacers between tiles to maintain consistent spacing.
Grouting and Finishing Touches
After laying the tiles, its time to finish:
- Allow Adhesive to Cure: Follow the manufacturer's instructions for curing time.
- Apply Grout: Once cured, remove spacers and fill the gaps with grout using your float. Wipe off excess grout.
- Seal the Grout: Once dry, seal the grout lines to protect against moisture damage.
Maintenance Tips for Your New Bathroom Tiles
To ensure your newly installed tiles stand the test of time, follow these maintenance tips:
- Regular Cleaning: Remove dirt and grime using mild cleaners with a soft cloth.
- Avoid Harsh Chemicals: Use pH-neutral cleaners as strong chemicals can damage tiles.
- Inspect for Damage: Regularly check for cracks or loose tiles and address issues promptly.
Common Questions about Redoing Bathroom Tiles
What tools do I need to redo my bathroom tile?
You will need a tile cutter, trowel, level, grout float, sponge, and spacers for your tile installation.
Can I lay tiles over existing ones?
Yes, in some cases, you can lay tiles over existing ones, provided they are secure, clean, and in good condition. However, its best to consult a professional for advice.
How long does it take to redo bathroom tiles?
The time required depends on the size of your bathroom and experience level; typically, it can take anywhere from one to three days.

Conclusion
Knowing how to redo bathroom tile doesnt have to be overwhelming. With the right tools, planning, and execution, you can achieve outstanding results that refresh your space. Now that you are equipped with the necessary knowledge, its time to roll up your sleeves and start your project. For additional insights and tips on tile installation, explore drilling into tiles and how to prepare under tile. Remember, a newly tiled bathroom can enhance the ambiance of your home significantly!
As an Amazon Associate, I earn from qualifying purchases.


