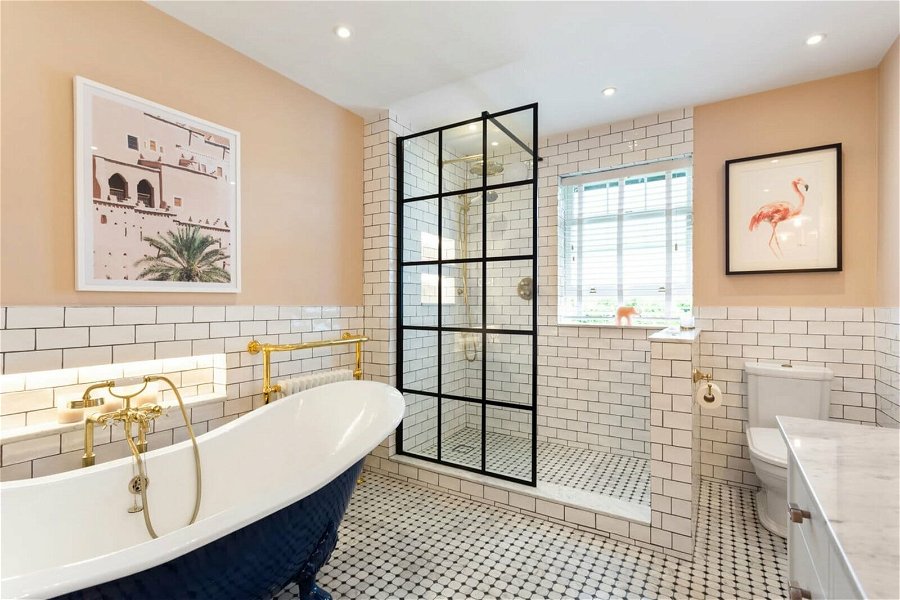
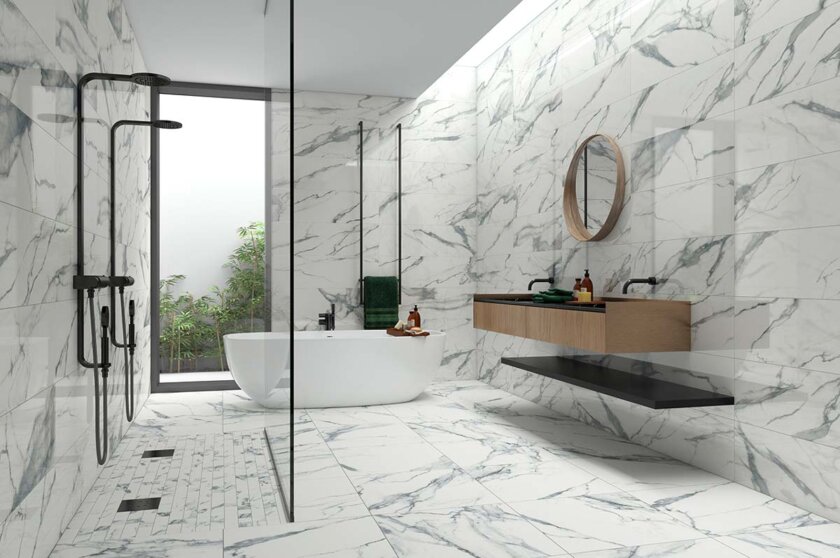
How to install tile backsplash in bathroom is a question many homeowners may ask when looking to elevate their bathroom's aesthetic. A tile backsplash not only adds a touch of elegance but also serves as a protective barrier against moisture, stains, and splashes. In this comprehensive guide, we aim to provide you with remarkable insights on achieving a professional-looking tile backsplash installation.
The process requires specific tools, materials, and techniques. This guide allows industry professionals and DIY enthusiasts alike to grasp the essentials of tiling. The right preparation will save you time and ensure a high-quality finish, creating a delightful space in one of the most used rooms of the house.

Why Choose a Tile Backsplash?
The benefits of installing a tile backsplash in your bathroom are both functional and aesthetic. Here are some of the top reasons:
- Visual Appeal: A backsplash can transform the looks of your bathroom.
- Protection Against Moisture: Tiles resist water and are easier to clean.
- Versatility: Tiles come in various colors and shapes to fit any design theme.
Essential Tools and Materials for Installation
Before you begin, gather the necessary tools and materials:
- Tile: Choose the type and design you prefer.
- Thin-Set Mortar: A cement-based adhesive for securing tiles.
- Notched Trowel: For spreading mortar evenly.
- Level: To ensure tiles are straight.
- Tile Cutter: For cutting tiles to fit.
Preparation Steps Before Installation
Before diving into tile installation, follow these crucial preparatory steps:
- **Clean the surface**: Ensure the area where tiles will be installed is free from dust and debris.
- **Measure the area**: Accurate measurements help determine how many tiles you need and help prevent waste.
- **Plan your layout**: Dry fit your tiles by laying them on the surface without adhesive to visualize the pattern.
Step-by-Step Installation Guide
Step 1: Mix the Mortar
Begin with mixing the thin-set mortar according to package instructions. Aim for a smooth consistency without lumps.
Step 2: Apply Mortar
Using the notched trowel, spread an even layer of mortar on the wall, ensuring its adequately covered for proper adhesion.
Step 3: Lay the Tiles
Start from the bottom corner and press the first tile into the mortar. Use spacers to maintain even gaps between tiles. Continue until the desired area is covered.
Step 4: Cutting Tiles
Use the tile cutter for any tiles that need to fit around outlets or corners to maintain a seamless look.
Step 5: Allow to Set
Leave the mortar to set as per the manufacturers instructions, generally 24 hours.
Grouting and Finishing Touches
After the mortar has set, it's time for grouting:
- Mix the grout: Follow instructions for consistency.
- Apply grout: Use a rubber float to apply grout over the tiles, filling in gaps.
- Clean excess: Wipe away excess grout from tiles with a damp sponge.
Tips to Ensure Quality Installation
To achieve a beautiful finish, follow these terrific tips:
- Always use a level for each tile placement.
- Work in small sections to prevent mortar from drying out.
- Seal the grout after it has dried to protect against stains.
Maintaining Your Tile Backsplash
Once your backsplash is installed, maintaining its appearance is essential. Regular cleaning with mild detergent and water keeps tiles looking fresh. Avoid abrasive cleaners that can damage the finish.

FAQs about Installing Tile Backsplash
What is the best type of tile for bathroom backsplashes?
Popular choices include ceramic, porcelain, and glass tiles. Each offers unique benefits.
How long does it take to install a tile backsplash?
The timeline varies based on experience and complexity but typically ranges from a few hours to a day.
Can I install a tile backsplash over existing tiles?
Yes, with proper preparation, however, ensure the old tiles are stable and clean.
For further reading on how to lay bathroom tiles, check out this reference article. Additional tips can be found regarding 10 tiling tips that may also be useful for your project.
As an Amazon Associate, I earn from qualifying purchases.


