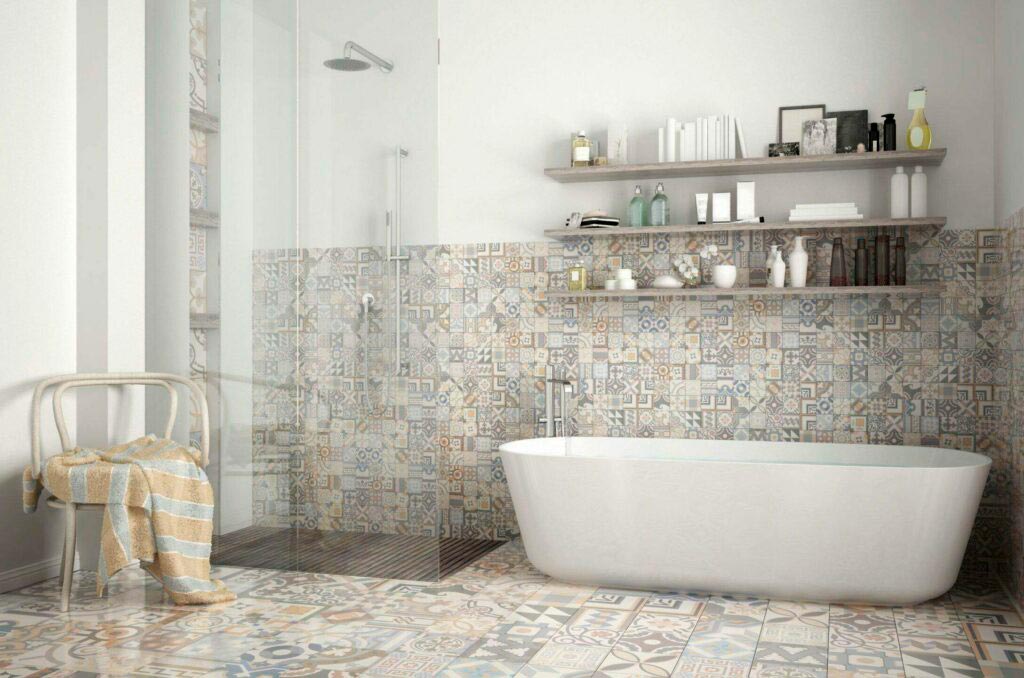
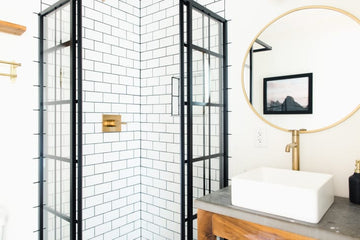
Are you considering a budget-friendly way to refresh your bathroom? If yes, then learning how to install peel and stick tile in bathroom might be just what you need! Peel and stick tiles have gained immense popularity, not just for their aesthetic appeal but also for their simplicity and low cost of installation. In this article, we will delve into everything you need to know to get started right away!
Installing peel and stick tile might seem daunting at first, but it can be achieved with a bit of patience and the right tools. This article will guide you through the preparation, installation, and finishing touches, ensuring your bathroom looks amazing without breaking the bank!

Why Choose Peel and Stick Tile?
Before we jump into the installation process, lets explore the reasons why you should opt for peel and stick tiles in your bathroom. They are:
- Cost-effective: They generally cost less than traditional tile options.
- Easy to install: No specialized tools or professionals are required.
- Versatile designs: Available in numerous styles and colors.
- Quick to replace: If you want to change up your design, it's simple to remove and replace them.
Things to Consider Before Installation
To ensure a successful installation, here are some things to keep in mind:
- **Surface Preparation**: The surface must be clean, dry, and smooth.
- **Material Quality**: Opt for high-quality peel and stick tiles.
- **Design Layout**: Plan your tile layout to avoid awkward cuts.
- **Bathroom Conditions**: Make sure the humidity levels are manageable.
Step-by-Step Guide on How to Install Peel and Stick Tile in Bathroom
Follow these steps to achieve a flawless installation:
Step 1: Gather Supplies
Before you start, ensure you have the following supplies ready:
- Peel and stick tiles
- Utility knife
- Measuring tape
- Straight edge
- Level
- Adhesive (if necessary)
- Grout (optional)
Step 2: Prepare the Surface
Carefully prep the surface by cleaning it thoroughly to remove any dust, grease, or removable items. This step is crucial as it ensures the adhesive sticks effectively.
Step 3: Measure and Cut Tiles
Accurate measurements are essential for a slick look. Measure the area where you plan to install tiles and use the straight edge and utility knife to make cuts as needed.
Step 4: Start Installing Tiles
Begin at one corner of the bathroom and peel off the backing from the tile. Press the tile firmly against the surface, making sure to align it properly. Repeat this process across the area.
Step 5: Finishing Touches
If desired, apply grout around the edges for a professional finish. Let everything cure for the recommended time before using the bathroom.

Frequently Asked Questions
1. Can I install peel and stick tile over existing tile?
Yes, you can install peel and stick tiles over existing tile as long as the surface is smooth and clean.
2. How long does peel and stick tile last?
Most peel and stick tiles can last anywhere from 5 to 25 years, depending on the quality and maintenance.
3. Can the tiles be removed easily if I change my mind?
Absolutely! Peel and stick tiles can often be removed without damaging the underlying surface.
If you want to know more about cleaning bathroom tiles or tiling a bathroom shower, feel free to check out our other blog posts.
For more insights on tile selection, consider visiting this guide on choosing bathroom tiles.
As an Amazon Associate, I earn from qualifying purchases.


