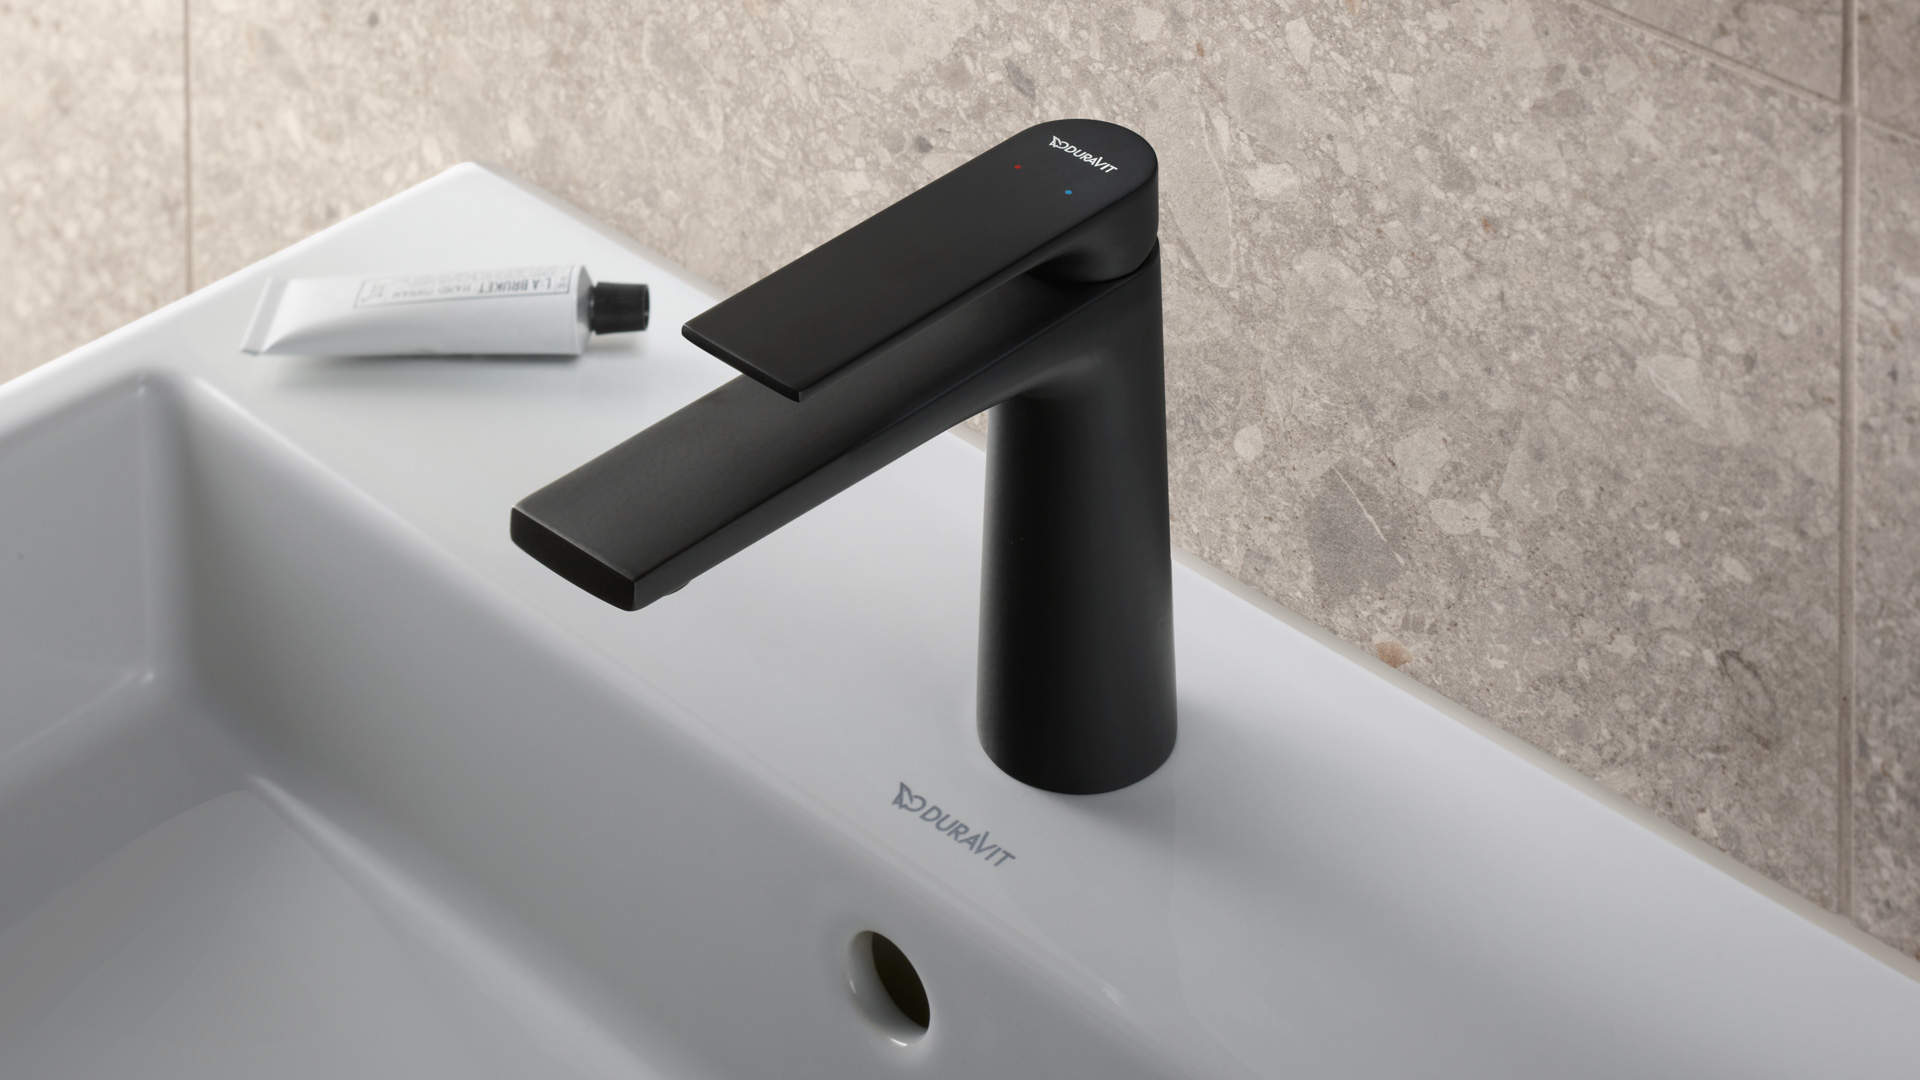
Are you tired of that old, leaky bathroom faucet and thinking about upgrading to a new Delta model? The process of how to install a delta bathroom faucet can seem daunting, but it is quite manageable with the right guidance. This article breaks down the entire installation process step-by-step, ensuring that you feel competent and confident with your new faucet installation.
Before diving into the installation process, understanding the basic components of a bathroom faucet and what tools you will need is crucial. This preparation will save you valuable time and hassle later on. Are you ready to learn vital tips and tricks that make this installation smoother than ever? Lets go!

Essential Tools and Components
Before starting any DIY project, having the right tools is essential. Heres a quick list of items you will need:
- Adjustable wrench
- Plumber's tape
- Screwdriver
- Bucket
- Putty knife
Being equipped with these tools makes it easier to tackle the installation without frequent pauses for tool fetching.
Step-By-Step Instructions for Installation
1. Turn Off the Water Supply
The first step in any plumbing project is to turn off the water supply. Locate the shut-off valves under your sink and turn them clockwise until they are completely off. If there are no shut-off valves, turn off the main water supply for your home.
2. Remove the Old Faucet
Most likely, you'll be replacing an old faucet. To do this efficiently:
- Disconnect the water supply lines using an adjustable wrench.
- Unscrew the mounting nuts securing the old faucet to the sink.
- Carefully lift the old faucet out, ensuring that no debris falls into the sink hole.
3. Prepare the Sink
Before installing the new Delta faucet, clean the faucet mounting area to ensure a good seal. If there is any old plumber's putty or caulking, scrape it away with a putty knife.
4. Install the New Faucet
Once the area is cleaned, you can install the new faucet:
- Place a new gasket or plumber's putty where the base of the faucet will sit.
- Insert the faucet through the sink hole carefully.
- Secure it with mounting nuts from underneath the sink, ensuring the faucet remains upright.
5. Connect Water Supply Lines
Next, connect the water supply lines:
- Attach the hot and cold water supply lines to the respective valves.
- Use plumbers tape on the threads for a tight seal.
- Tighten the connections securely, but be careful not to overtighten.
6. Turn on the Water Supply
With the faucet securely in place, its time to turn the water supply back on. Check for leaks by turning the faucet on and off. If you notice any leaks, you may need to tighten the connections further.
7. Final Checks
Finally, ensure that everything is functioning as expected. Run both hot and cold water, checking for any operational issues.
Maintenance Tips for Your Delta Faucet
After installing a new Delta faucet, proper maintenance is essential to keep it in excellent working condition:
- Regular Cleaning: Clean the faucet regularly with a soft cloth.
- Check for Leaks: Occasionally, inspect for any leaks or drips.
- Mineral Buildup: Remove mineral deposits by soaking the faucet parts in vinegar if you live in a hard water area.
Frequently Asked Questions
1. How long does it take to install a Delta bathroom faucet?
For beginners, installation may take about 1 to 2 hours, while experienced DIYers may complete it in about 30 minutes.
2. Do I need a professional to install my faucet?
If you are comfortable with basic tools, you can do it yourself. However, if plumbing makes you nervous, hiring a professional might be the best choice.
3. What if my faucet is leaking after installation?
If your faucet is leaking, ensure all connections are tight and secure. If leaks persist, consider reapplying plumber's tape or replacing the rubber washers.
For more insights, check out different types of faucets for bathrooms. Want to learn how to repair a Delta faucet? Visit this article for remarkable instructions.

Conclusion
Installing a new Delta bathroom faucet doesn't have to be a frightening task! With the right tools and clear instructions, it can be a rewarding DIY project, saving you time and money. Remember to take your time and follow the steps closely for a flawless installation.
As an Amazon Associate, I earn from qualifying purchases.


