In an era where water conservation is not just an option but a necessity, understanding how to efficiently install a water-saving toilet in your home can be a game-changer for both your environmental impact and your utility bills. The concept of DIY water-saving toilet installation is gaining traction as more homeowners seek to increase efficiency in their homes.
Whether you're a seasoned DIY enthusiast or a complete beginner, this guide will walk you through the essentials of installing a water-saving toilet that both conserves water and performs effectively.
The Importance of Water Conservation
Water is a precious resource, and with the increasing effects of climate change and population growth, conserving water in our daily lives has never been more critical. Water-saving toilets play a vital role in reducing household water use, and they can slash home water use significantly.
Conventional toilets can waste gallons of water per flush, but modern water-saving designs reduce this to just a fraction, contributing greatly to household water efficiency. Consider learning more about how water-saving toilets work to understand their impact fully.
Steps for Installing a Water-Saving Toilet
Gathering the Right Tools and Materials
Before you begin the DIY water-saving toilet installation, ensure that you have all necessary tools and materials. This includes a wrench set, screwdrivers, a new wax ring, bolts, and the toilet itself. Many modern models come with all the parts needed for installation.
Removing the Old Toilet
The initial step in your installation is removing the outdated toilet. Turn off the water supply and flush the toilet to drain the tank. Use a sponge to soak up any remaining water in the bowl and tank. Unscrew the bolts and carefully remove the toilet. For guidance on toilet maintenance and flushing without common tools, see this simple method.
Installing the New Toilet
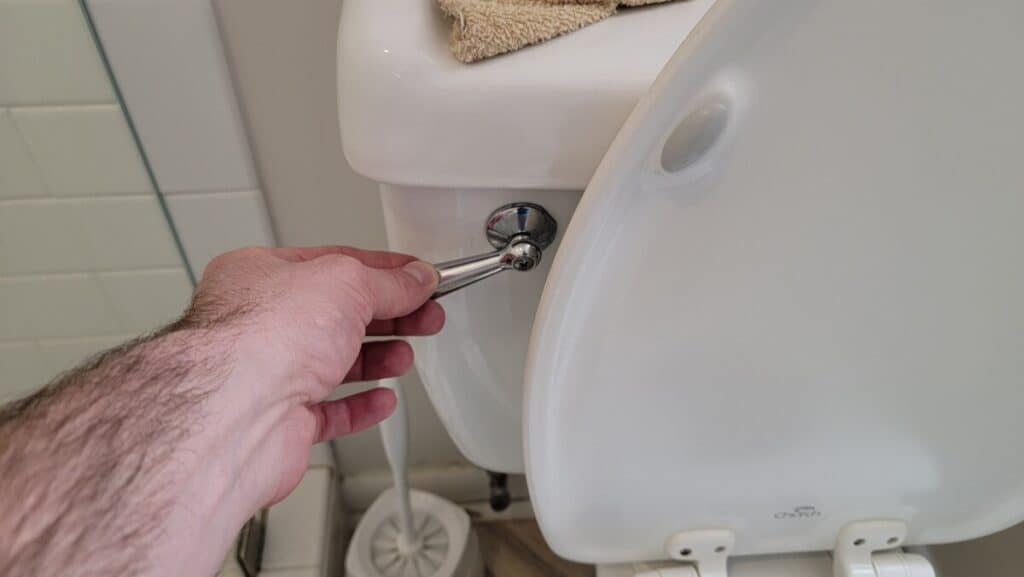
Position the new wax ring on the floor flange. Next, align the toilet over the flange, ensuring the bolts pass through the holes in the base of the toilet. Once perfectly positioned, tighten the bolts evenly to avoid cracking the porcelain.
Attach the tank to the bowl using the provided bolts, ensuring a snug fit to prevent any leaks. Finally, connect the water supply, turn the water on, and test the toilet for any leaks or issues.
Benefits of a DIY Installation
Choosing to do a DIY water-saving toilet installation not only saves money on professional labor but also gives you a sense of accomplishment. By learning these skills, you're better prepared to handle future home repairs.
Moreover, by installing a water-saving toilet, you contribute to environmental conservation efforts and potentially save on your water bills. Discover how much you might save using low-flow toilets.
Conclusion
DYI water-saving toilet installation empowers you to make meaningful changes that positively impact both your wallet and the planet. With easy-to-follow steps and many resources at your disposal, these eco-friendly installations are achievable and beneficial.
For further insight into why water conservation methods are crucial, consider visiting the EPA's site on water conservation.

FAQs
1. What tools do I need for a DIY water-saving toilet installation?
You will need a wrench set, screwdrivers, a new wax ring, and bolts. Modern toilet kits include most necessary components.
2. How much water does a water-saving toilet save?
Water-saving toilets can reduce water use by up to 60%, depending on the model, compared to traditional toilets.
3. Can I install a water-saving toilet without professional help?
Yes, with the right tools and guidance, a DIY water-saving toilet installation is manageable for most homeowners.