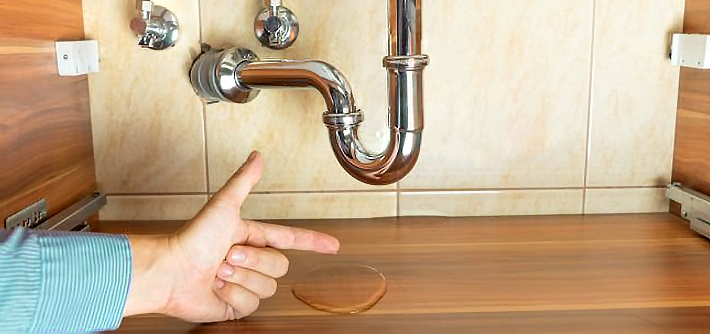
In the modern age, where home automation is steadily becoming the norm, there is a growing emphasis on ensuring household safety and efficiency. Among the myriad of smart gadgets available today, a DIY water leak detector stands as a crucial tool for homeowners and businesses alike, particularly for the detail-oriented minds in Industry QA. Recognizing the early signs of water leaks not only protects property but also preserves resources and reduces long-term costs associated with water damage. This makes effective leak detection pivotal for industry professionals and the everyday DIY enthusiast.
You might wonder, how does a DIY water leak detector fit into the broader spectrum of quality assurance in industries? Well, detecting leaks promptly translates to enhanced operational efficiency, minimized repair costs, and the upholding of safety standards. But before delving deeper into its significance from an industry standpoint, let's unravel how one can construct an effective water leak detector right at home.

Understanding the Basics of Water Leak Detection
In essence, water leaks are often the silent threats in homes or commercial establishments. While the dripping sound of a leaking tap is easy to notice, concealed leaks can cause severe damage if left unchecked. A DIY water leak detector generally involves detecting such hidden dangers using readily available materials and basic understanding of electronics.
As you embark on creating your own detector, you might want to check out the intricate technology behind smart detectors described in this resource on smart water leak detectors. It provides a comprehensive overview of how these devices function, offering valuable insights to enhance your DIY project.
Why Choose a DIY Approach for Water Leak Detection?
Opting for a DIY solution in water leak detection offers a variety of benefits. Here are a few:
- Cost-Effective: DIY projects often cost a fraction of store-bought devices. With manufactured detectors potentially running high on price, creating your own allows you to allocate funds to other important areas in your home or business.
- Customizable: Depending on your specific needs, you can tailor your detector to suit different areas, whether it's for industrial pipes or ceiling installations, much like the specifications found in specialty detectors like the ceiling leak sensor.
- Learning Experience: The hands-on construction presents a learning opportunity. By engaging with the intricacies of engineering and technology, it enriches your understanding and prepares you for more complex challenges.
Steps to Build Your DIY Water Leak Detector
For those eager to create their own water leak detector, here's a simplified process:
Gathering Essentials
Begin by collecting the necessary materials: a simple circuit board, moisture sensors, wires, a buzzer, and a 9V battery. Each of these components can be found in local electronics stores or online marketplaces.
Assembling the Circuit
Attach the moisture sensors to the circuit board, configuring them to trigger the buzzer when water is detected. It is akin to the functionality found in professional devices like the smart sensor for pipes, where sensors are designed for precision and accuracy.
Next, connect the wires appropriately, ensuring the circuit is complete and powered by the battery. Test the circuit using a small amount of water and adjust as necessary to ensure accuracy.
Enhancing Functionality with Smart Features
Modern advancements have allowed DIY enthusiasts to integrate smart technology into their projects. You might opt to include Wi-Fi or Bluetooth modules to alert your smartphone when a leak is detected. This smart integration significantly enhances your device, allowing it to align with professional-grade equipment.
For those interested in smart technology applications, consider the sophisticated features outlined in this article on how water sensors work. It offers insights into how these devices interact with your homes ecosystem.
Maintenance and Regular Checks: Proactively Preventing Damage
Building your DIY water leak detector is only the beginning. Regular maintenance is key to its effectiveness. Frequently check the batteries, clean the sensors, and ensure the circuit remains protected from dust and moisture. For industrial applications, integrating a maintenance schedule similar to those for larger systems is recommended.

FAQ Section
Q1: What are common places to install a DIY water leak detector?
A1: Common areas include under sinks, near water heaters, behind toilets, and any place prone to water use and potential leakage like basements.
Q2: How does a moisture sensor in a water leak detector function?
A2: A moisture sensor detects water by completing an electric circuit. When water contacts the sensor, it allows the current to pass, which in turn, can trigger an alert or alarm.
Q3: Can a DIY detector be integrated into a smart home system?
A3: Yes, by incorporating additional smart modules such as Wi-Fi or Bluetooth, a DIY water leak detector can be synced to smart home systems for remote monitoring.
For detailed insights on integrating with smart systems, visit prevent water damage with smart tech.
Embracing a DIY approach to water leak detection not only enhances your home's security but also empowers you with valuable skills and knowledge. For those in Industry QA, understanding and implementing such technology reinforces the quality and safety protocols essential for any modern operation.


